My short film, Infinity 7 (2019), takes place during a fictional Mercury spaceflight, which meant we needed an authentic-looking capsule interior.
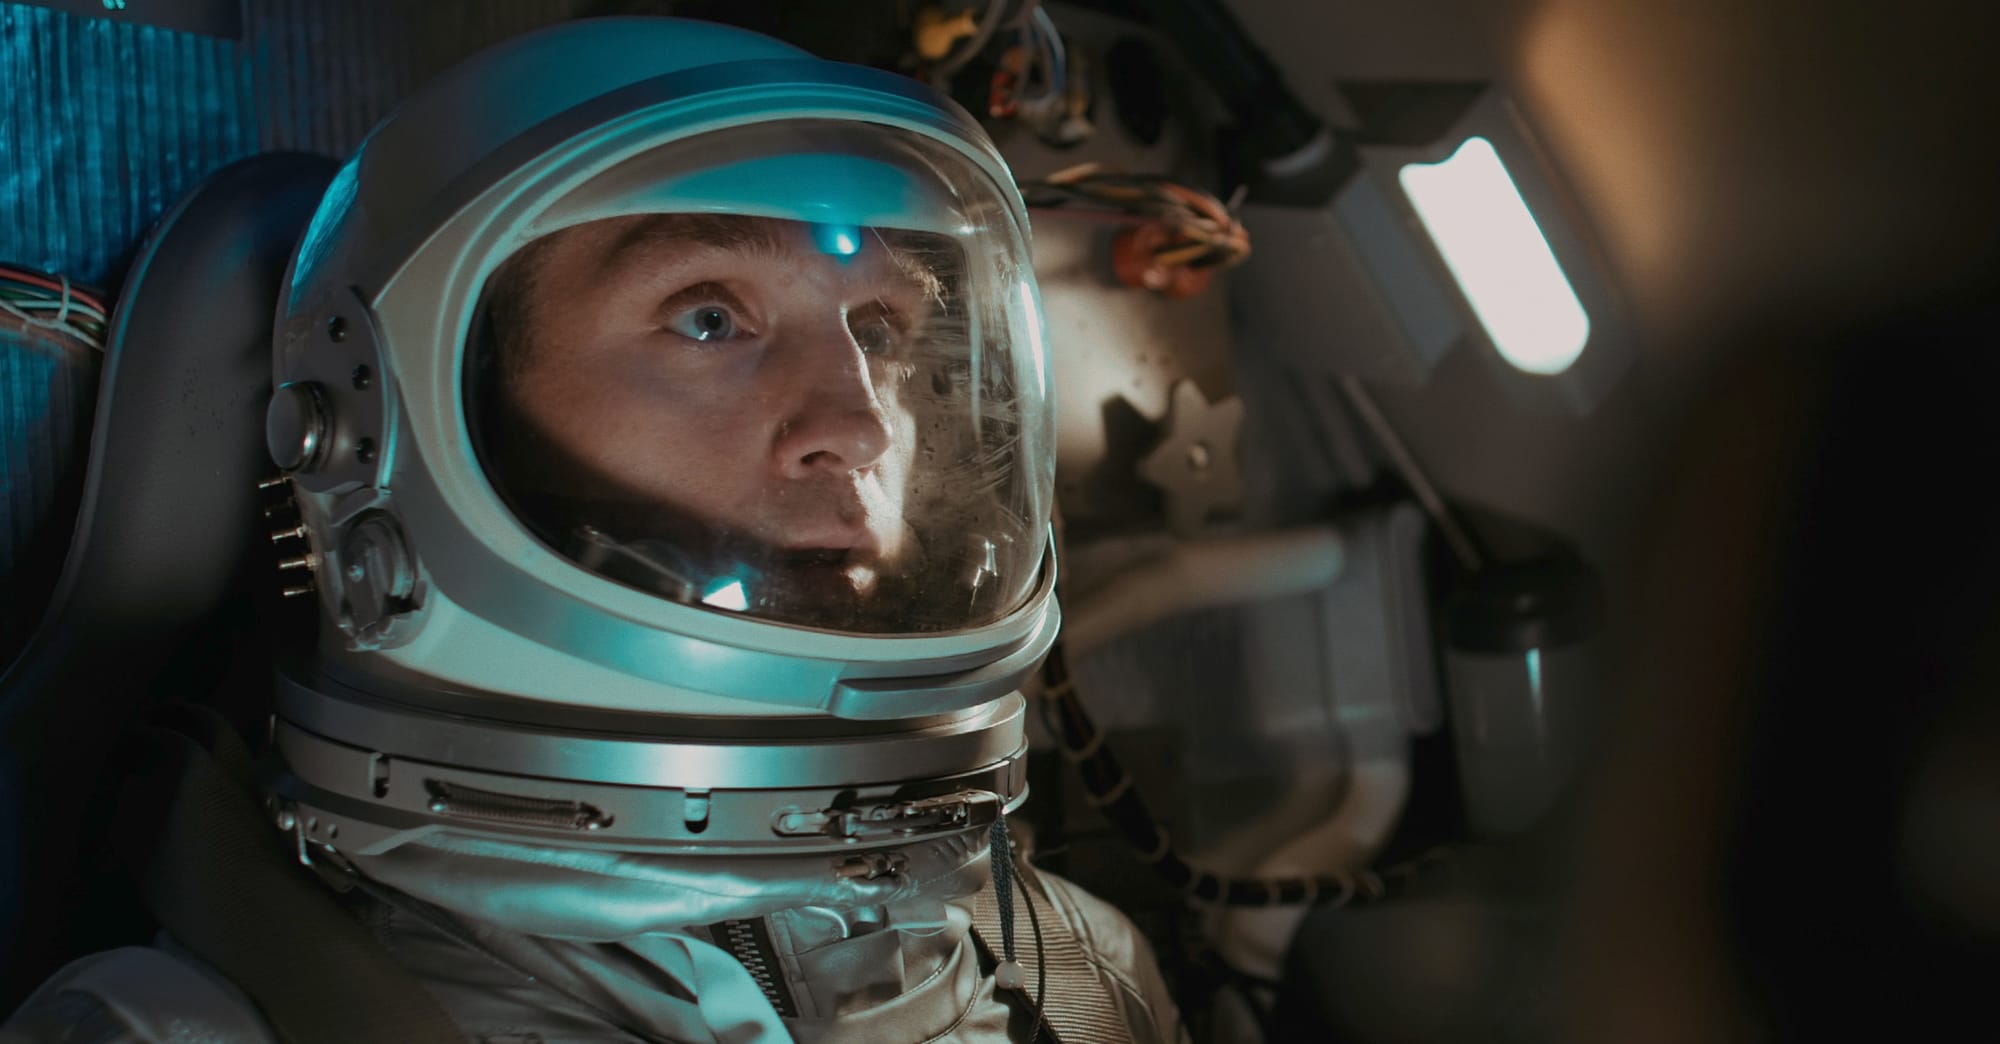
Project Mercury was NASA’s first human spaceflight program, launching astronauts like Alan Shepard and John Glenn into space in the early 1960s. The capsules were barely large enough to hold a single astronaut—cramped, hand-built machines that felt more like experimental hardware than polished spacecraft. Recreating one on a small budget became one of the central production challenges.
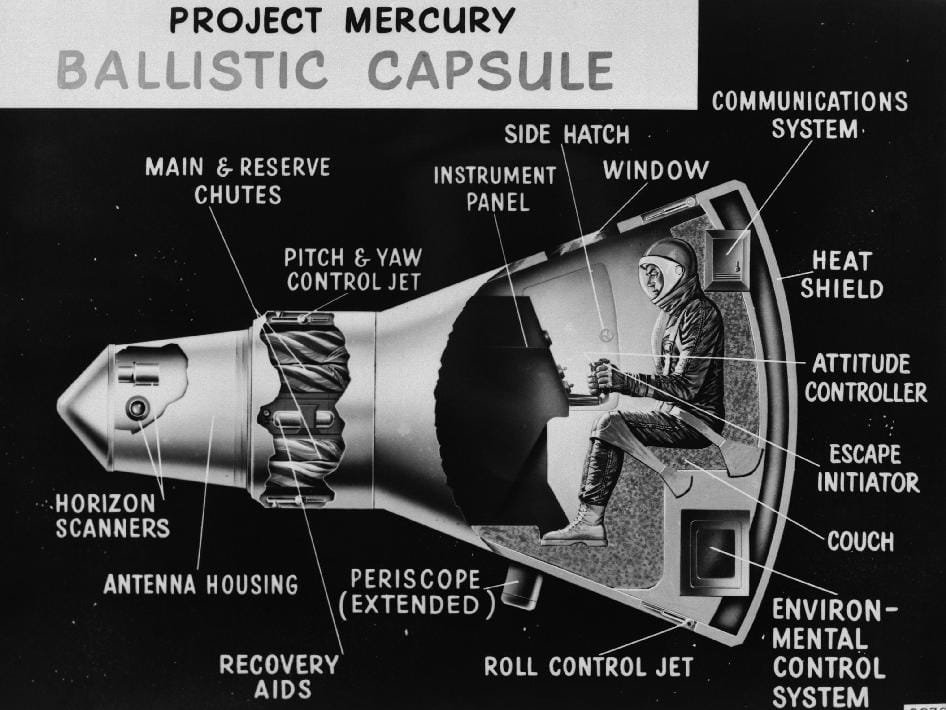
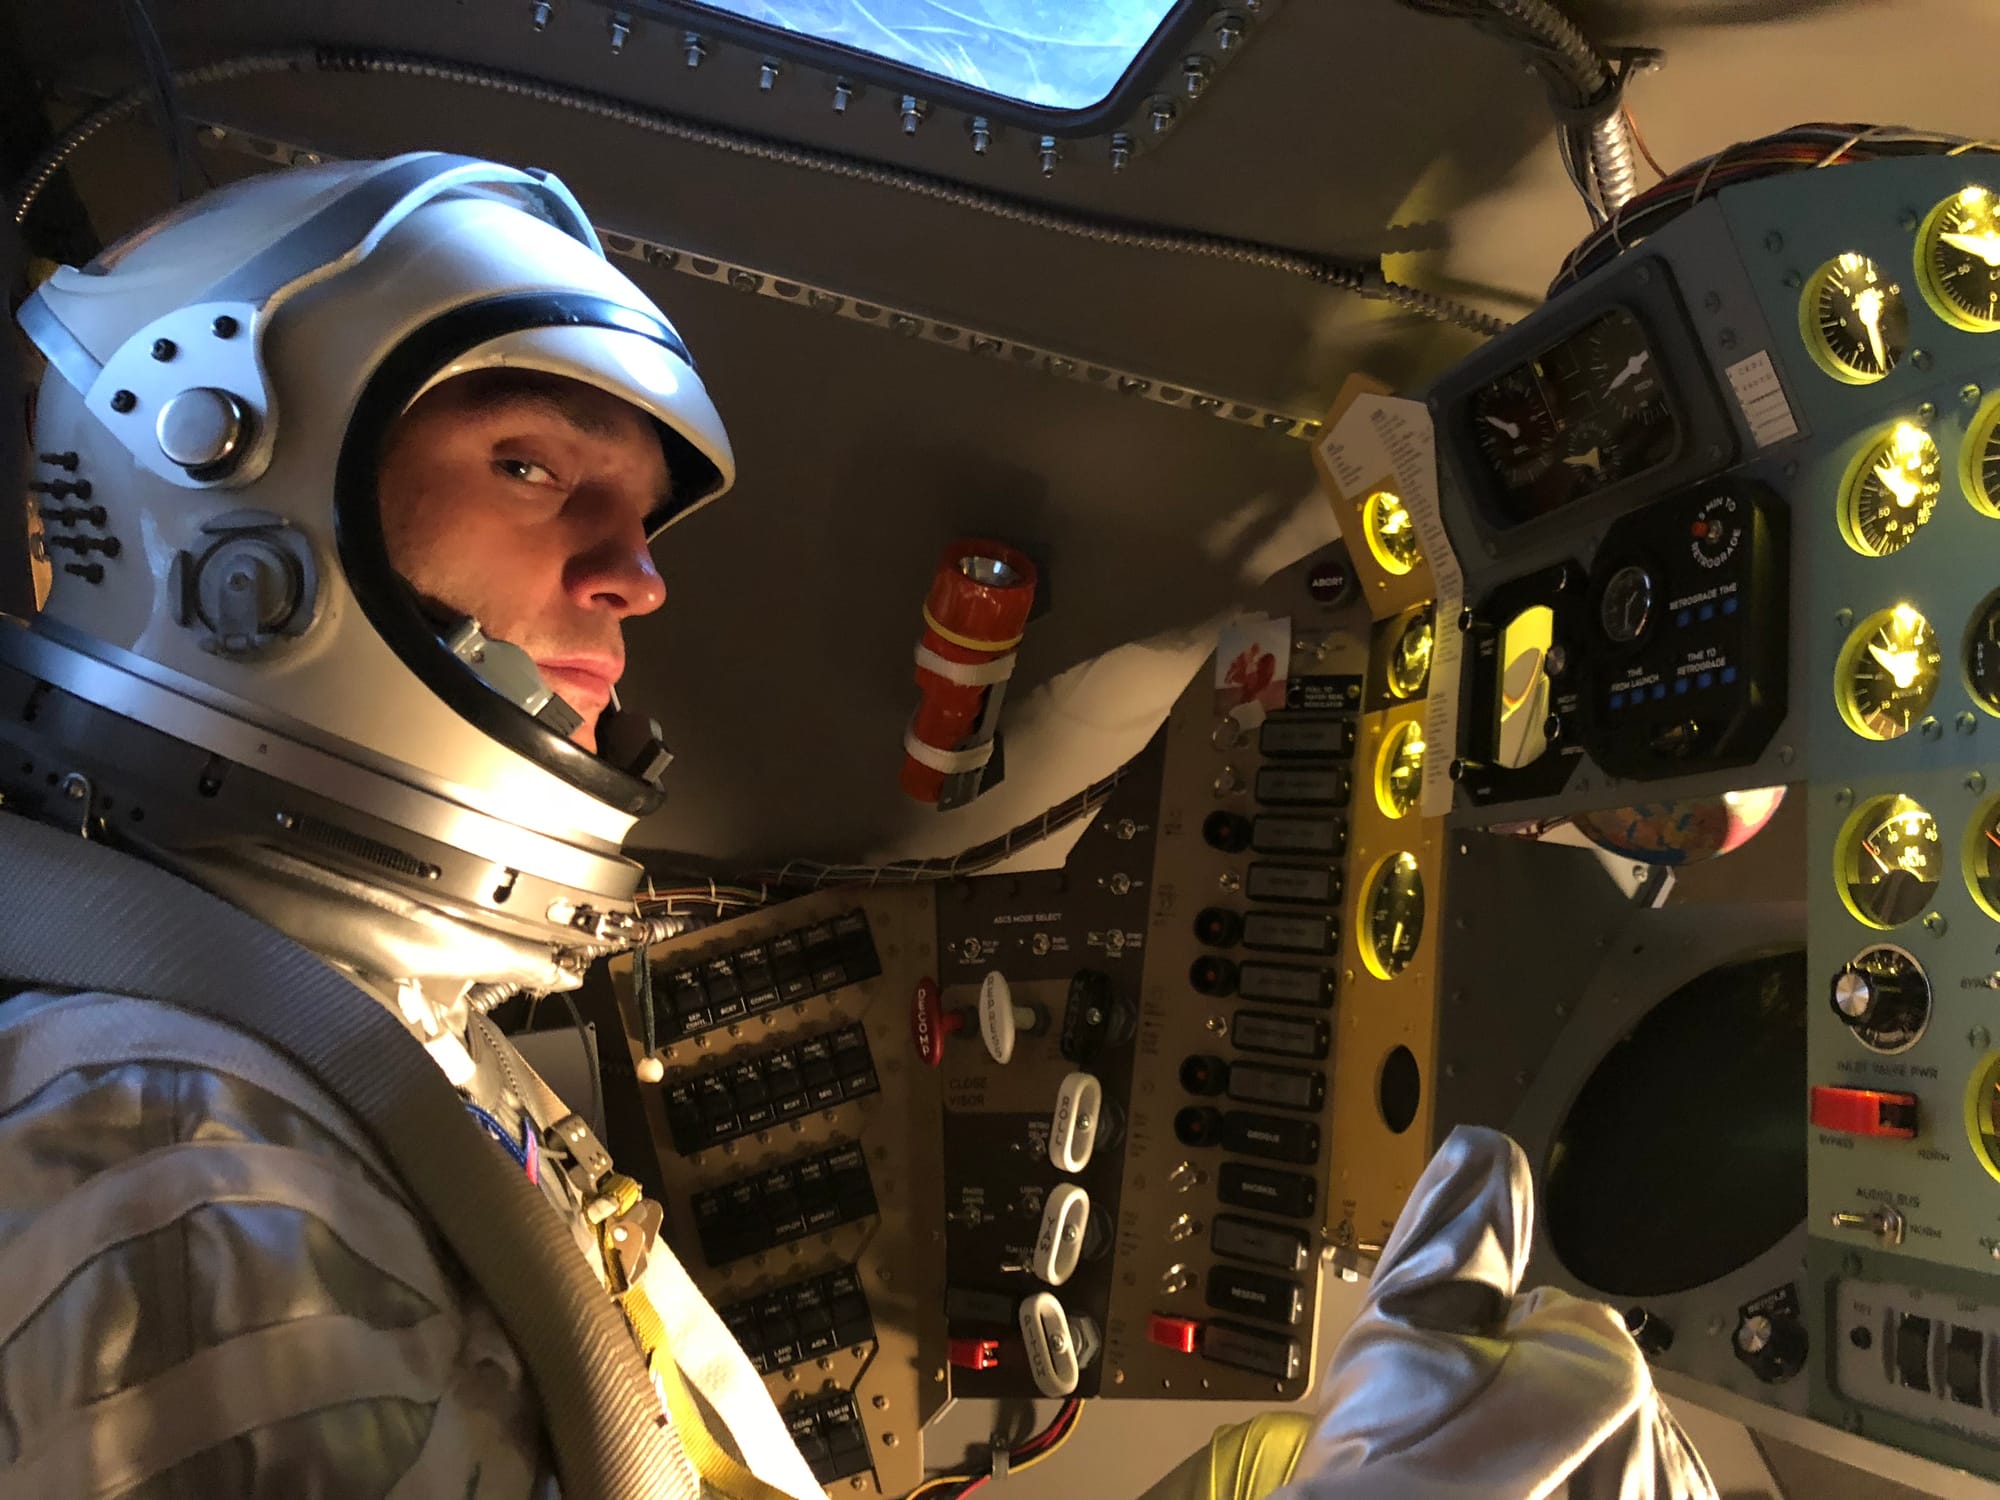
The cockpit demanded extensive research. We gathered period photographs, technical diagrams, and line drawings from multiple sources and painstakingly cross-referenced them to map out an accurate design. Determining the precise scale of the cockpit and the layout of the control panels proved especially difficult. By overlaying photos with diagrams and drawings, we gradually assembled a faithful representation. The process was complicated by the fact that no two Mercury spacecraft were identical—each vehicle had its own subtle variations, making a single “correct” recreation impossible.
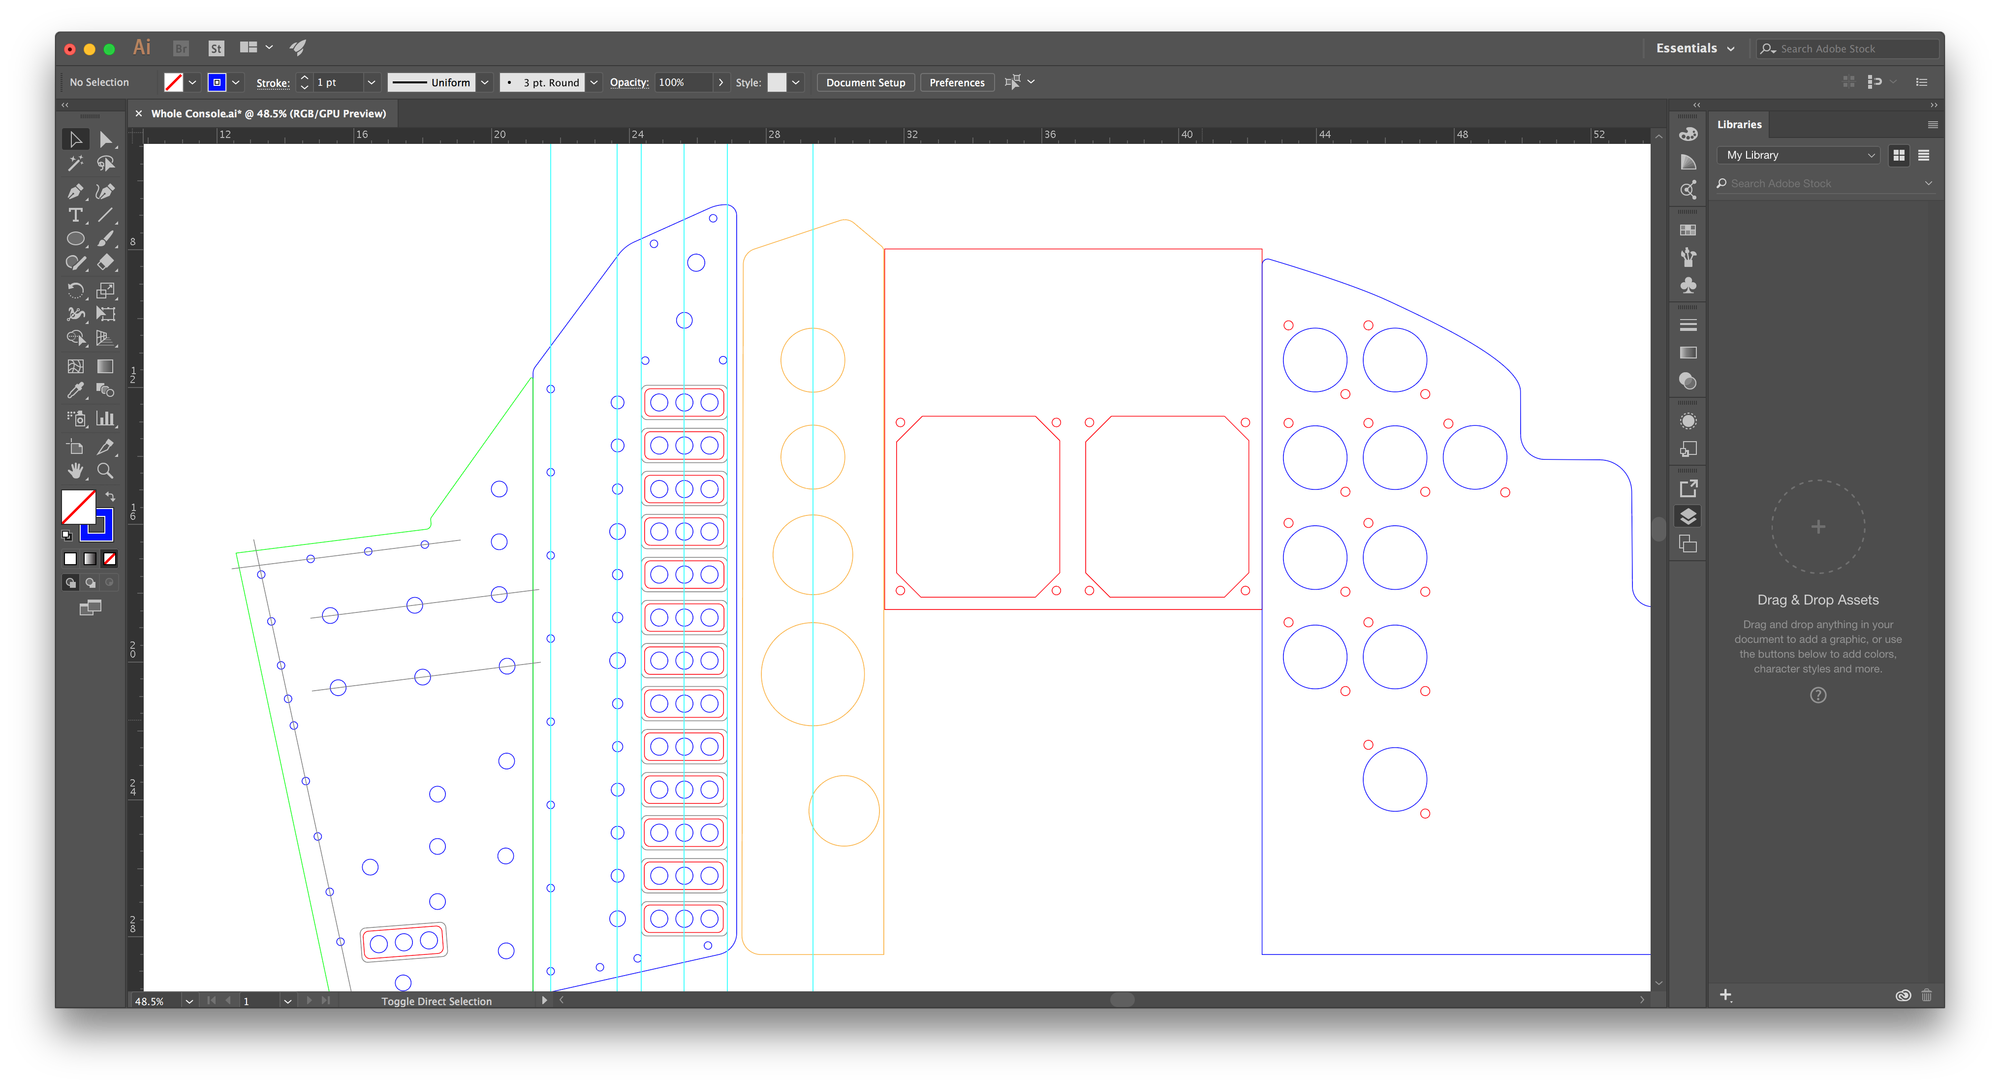
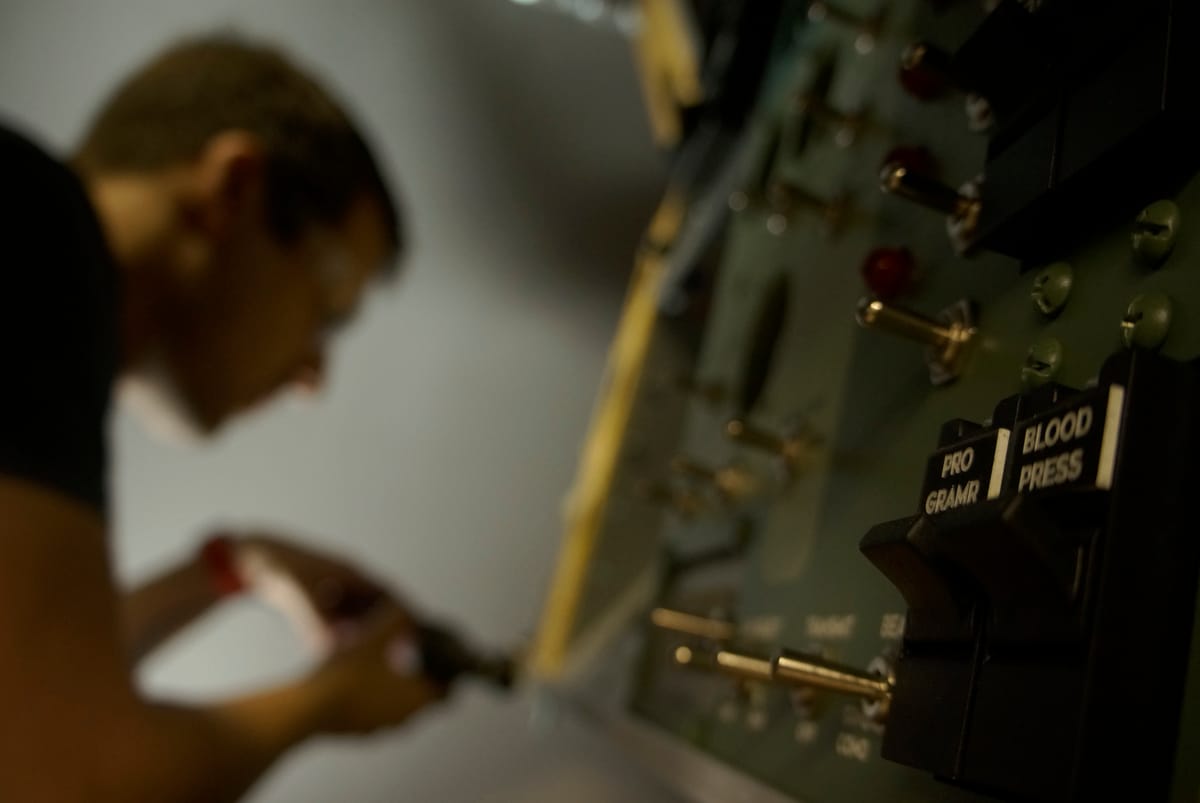
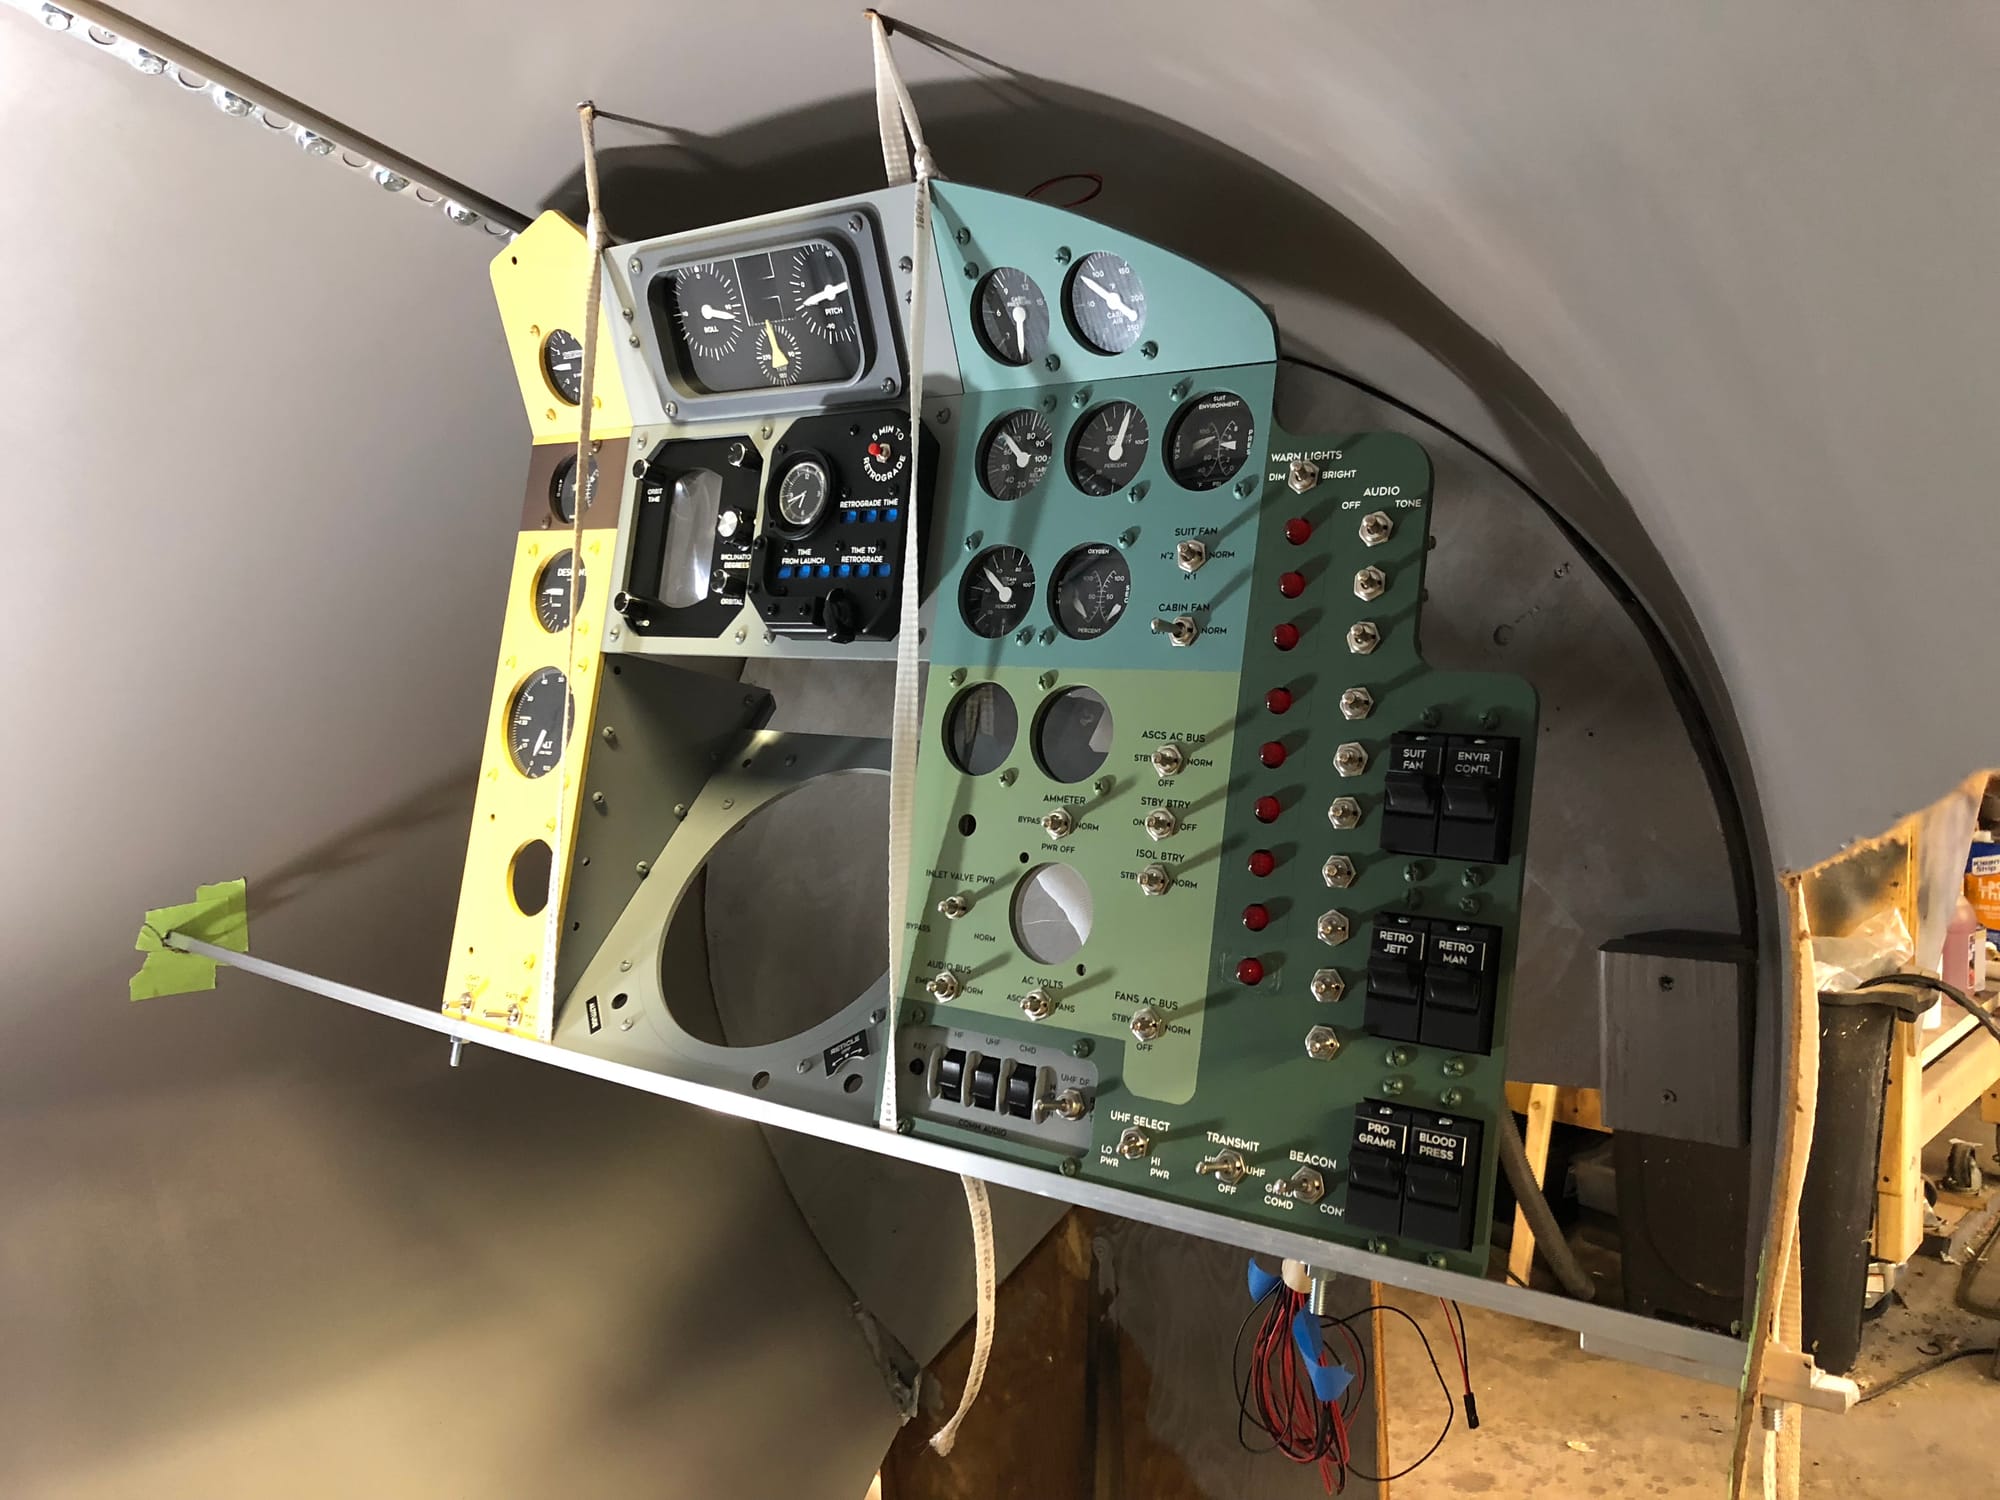
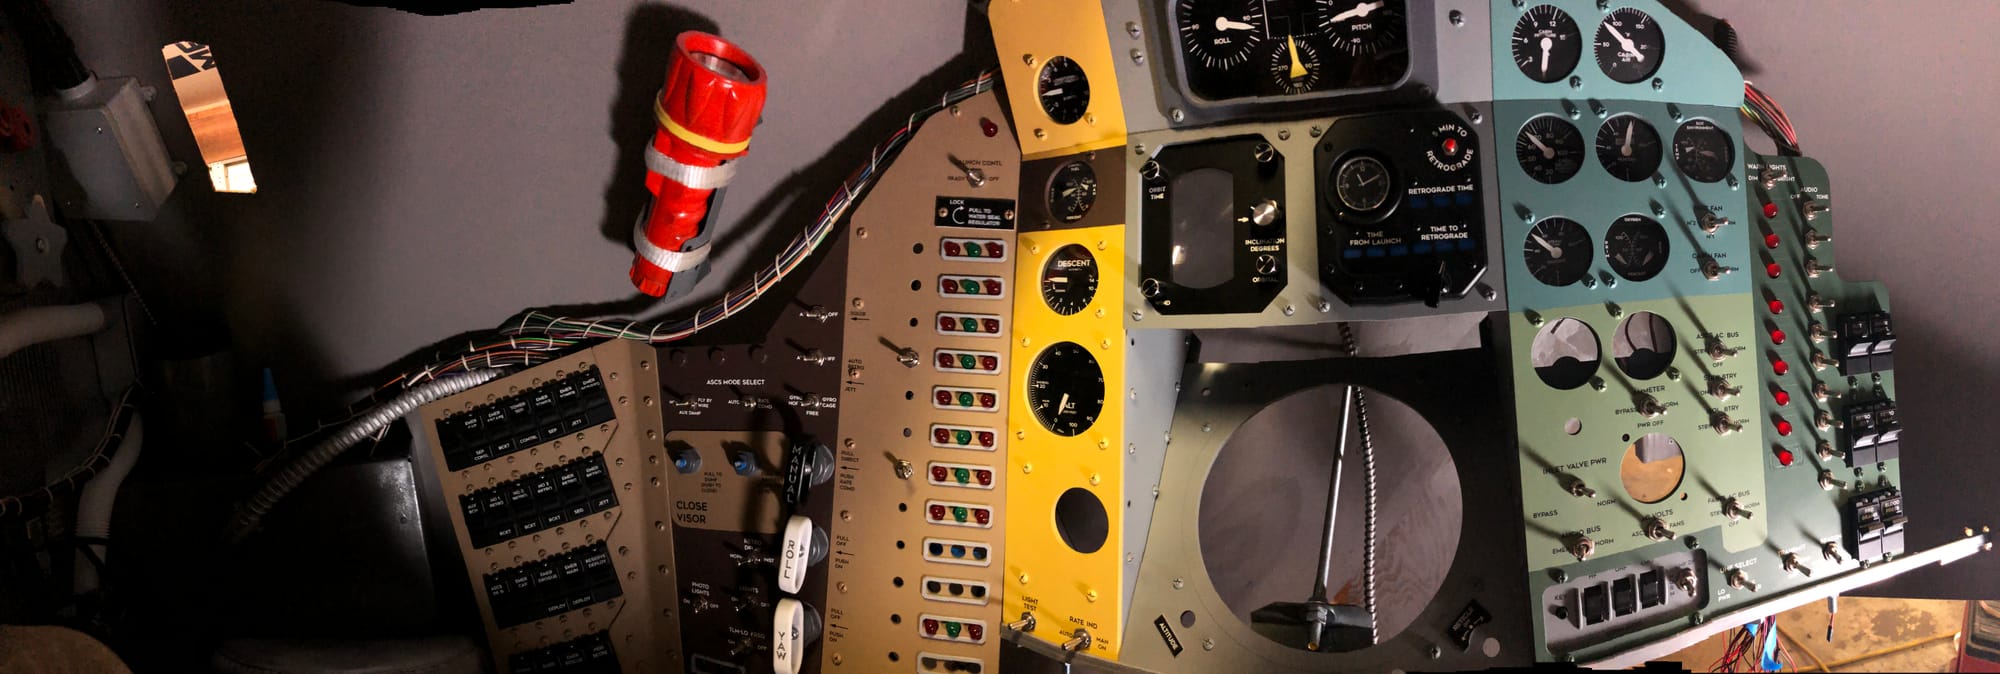
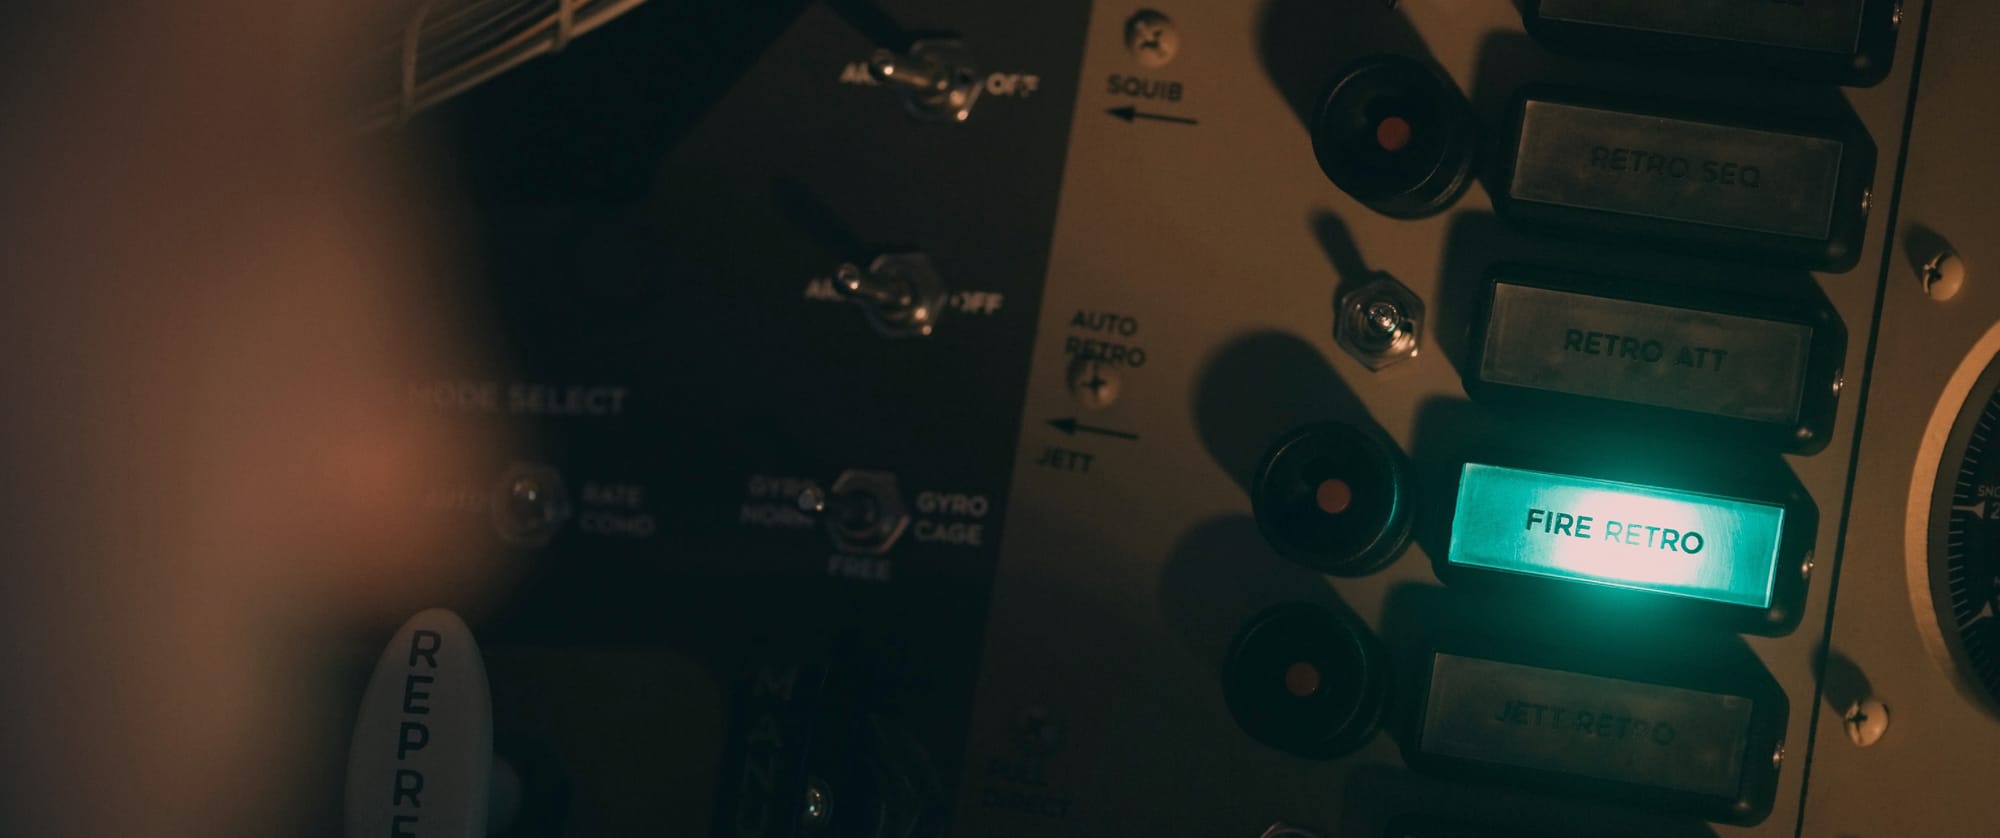
With the research complete, the real work of design and construction began. We traced the control panel layouts in Adobe Illustrator and had the designs laser-cut from high-quality hardboard. After finishing and painting the panels, we installed the switches, buttons, and LEDs that would bring the cockpit to life.
To drive the set’s electronics, we used an Arduino microcontroller to control the cockpit lights, switches, and motors. This allowed us to independently address each of the cockpit’s 48 LEDs and 12 gauges. A laptop running custom software simulated the various mission conditions called for by the script, giving our astronaut interactive feedback during filming.
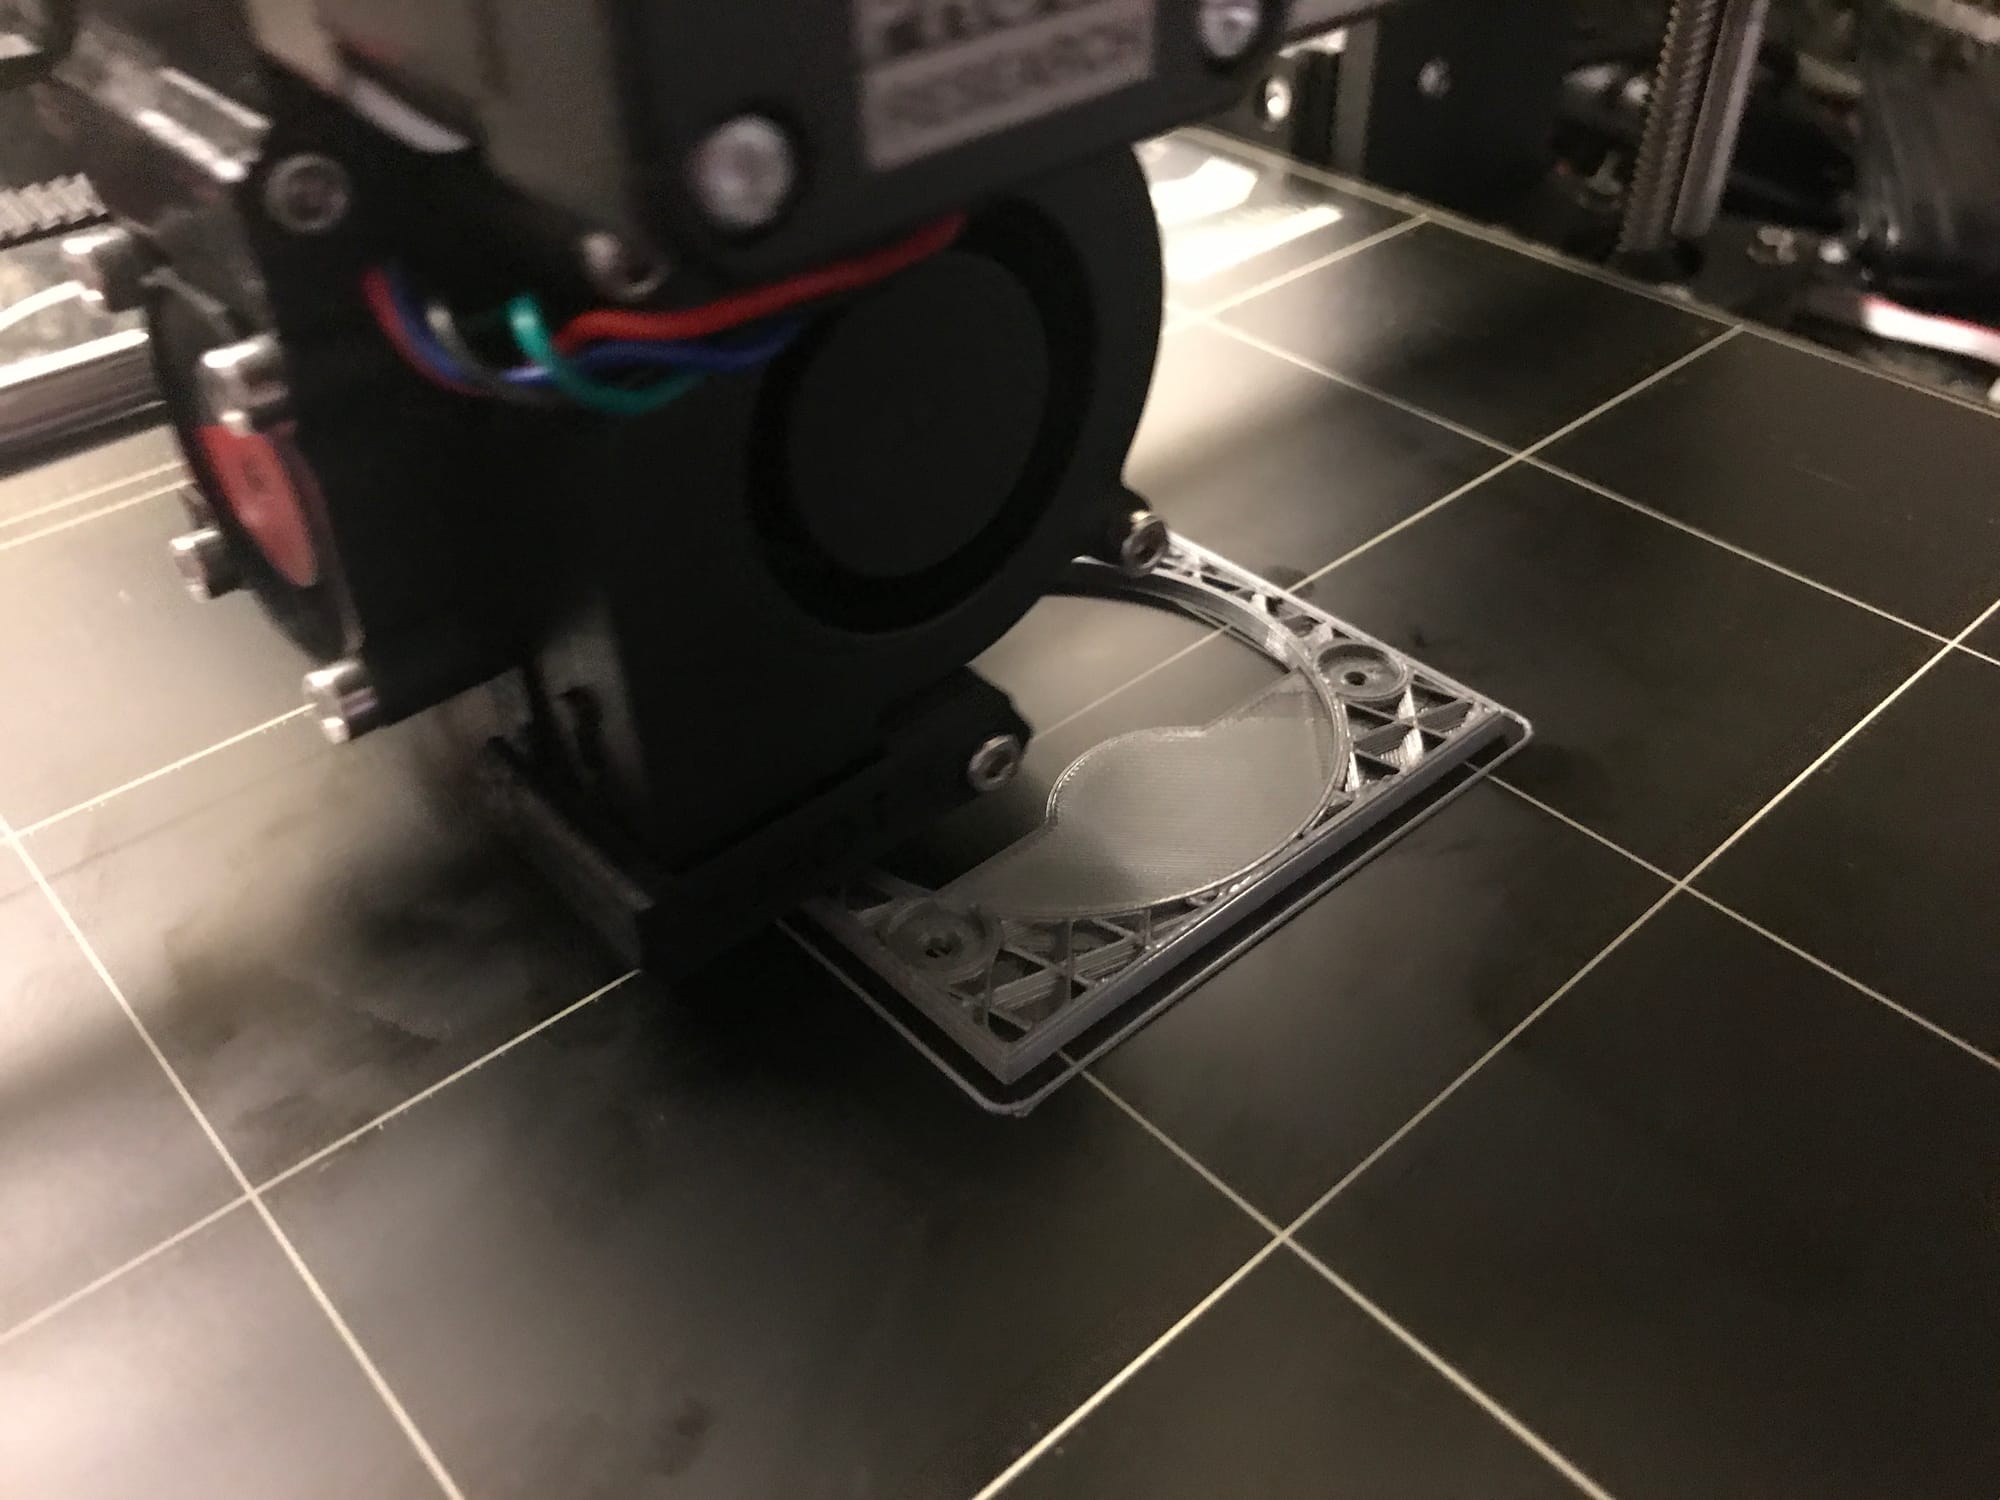
Many of the smaller internal components that could not be sourced—circuit breakers, pull handles, and similar fixtures—were designed and 3D-printed on our Prusa i3 Mk2 in PLA plastic. The prints were sanded, painted, and finished to match the look of the original hardware. Because we needed multiple copies of several unique parts, we made silicone molds and cast duplicates. We also designed and printed a network of internal brackets that formed a structural frame, providing rigid support for the various control panels.
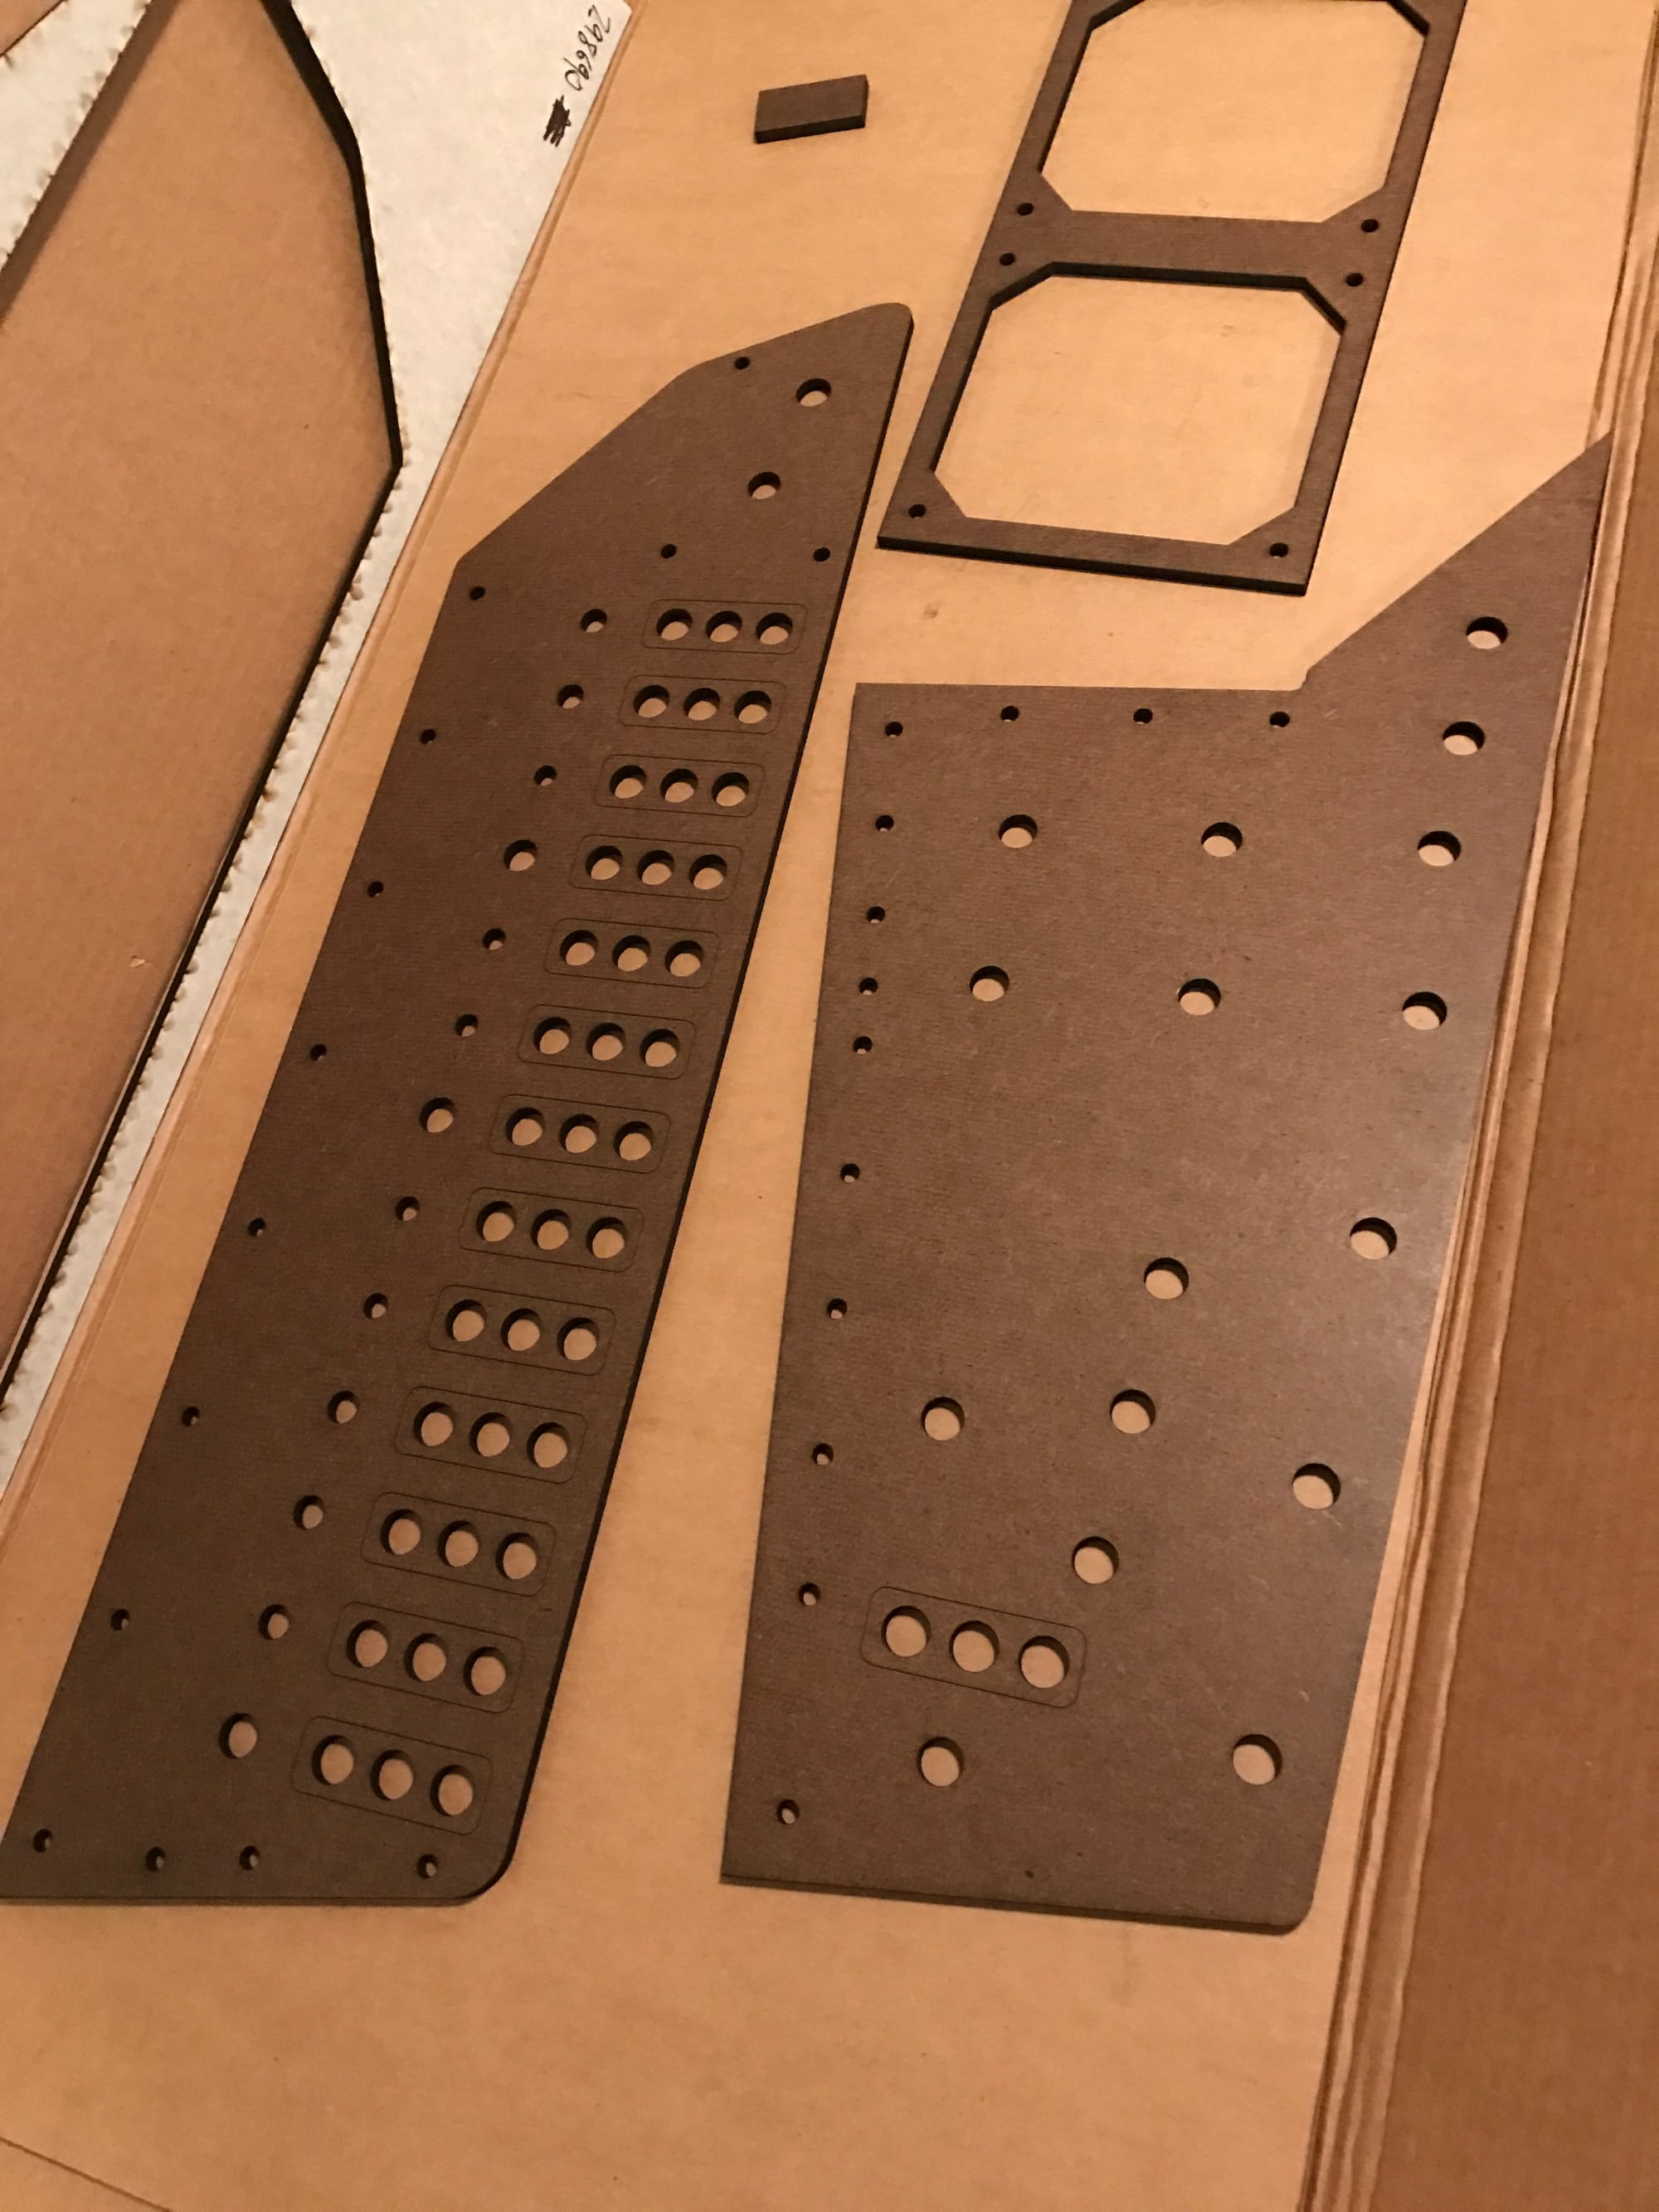
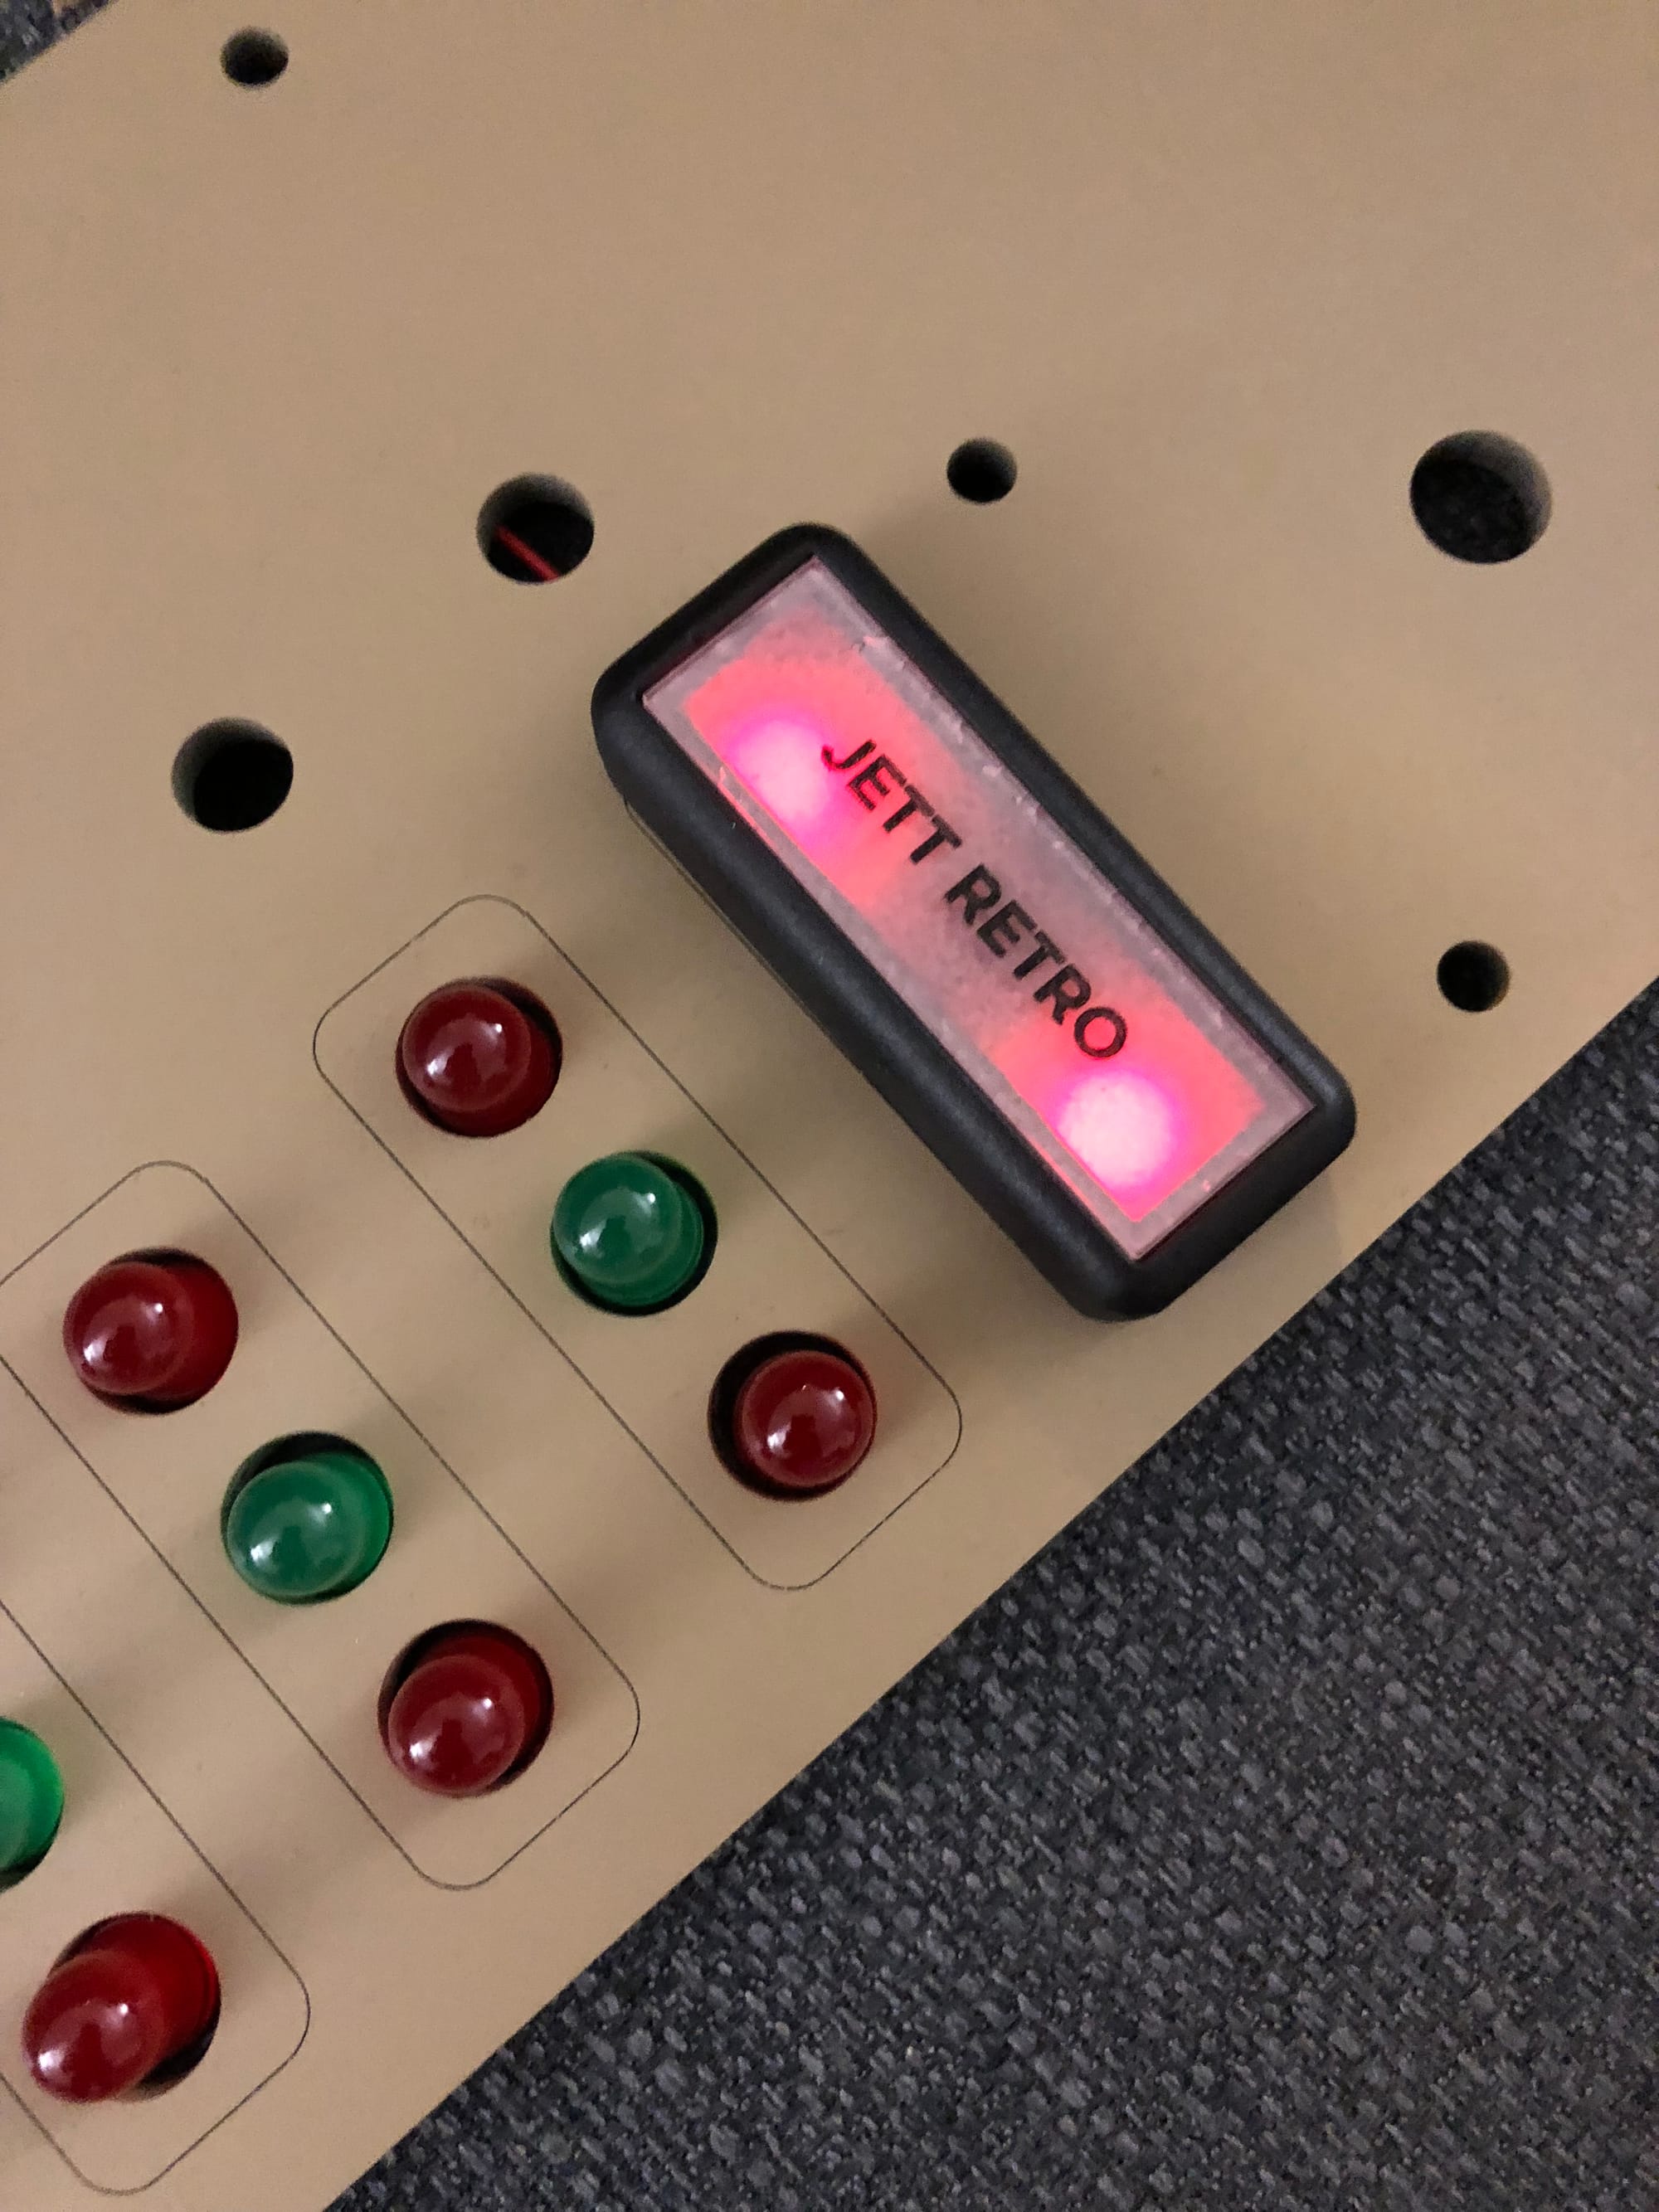
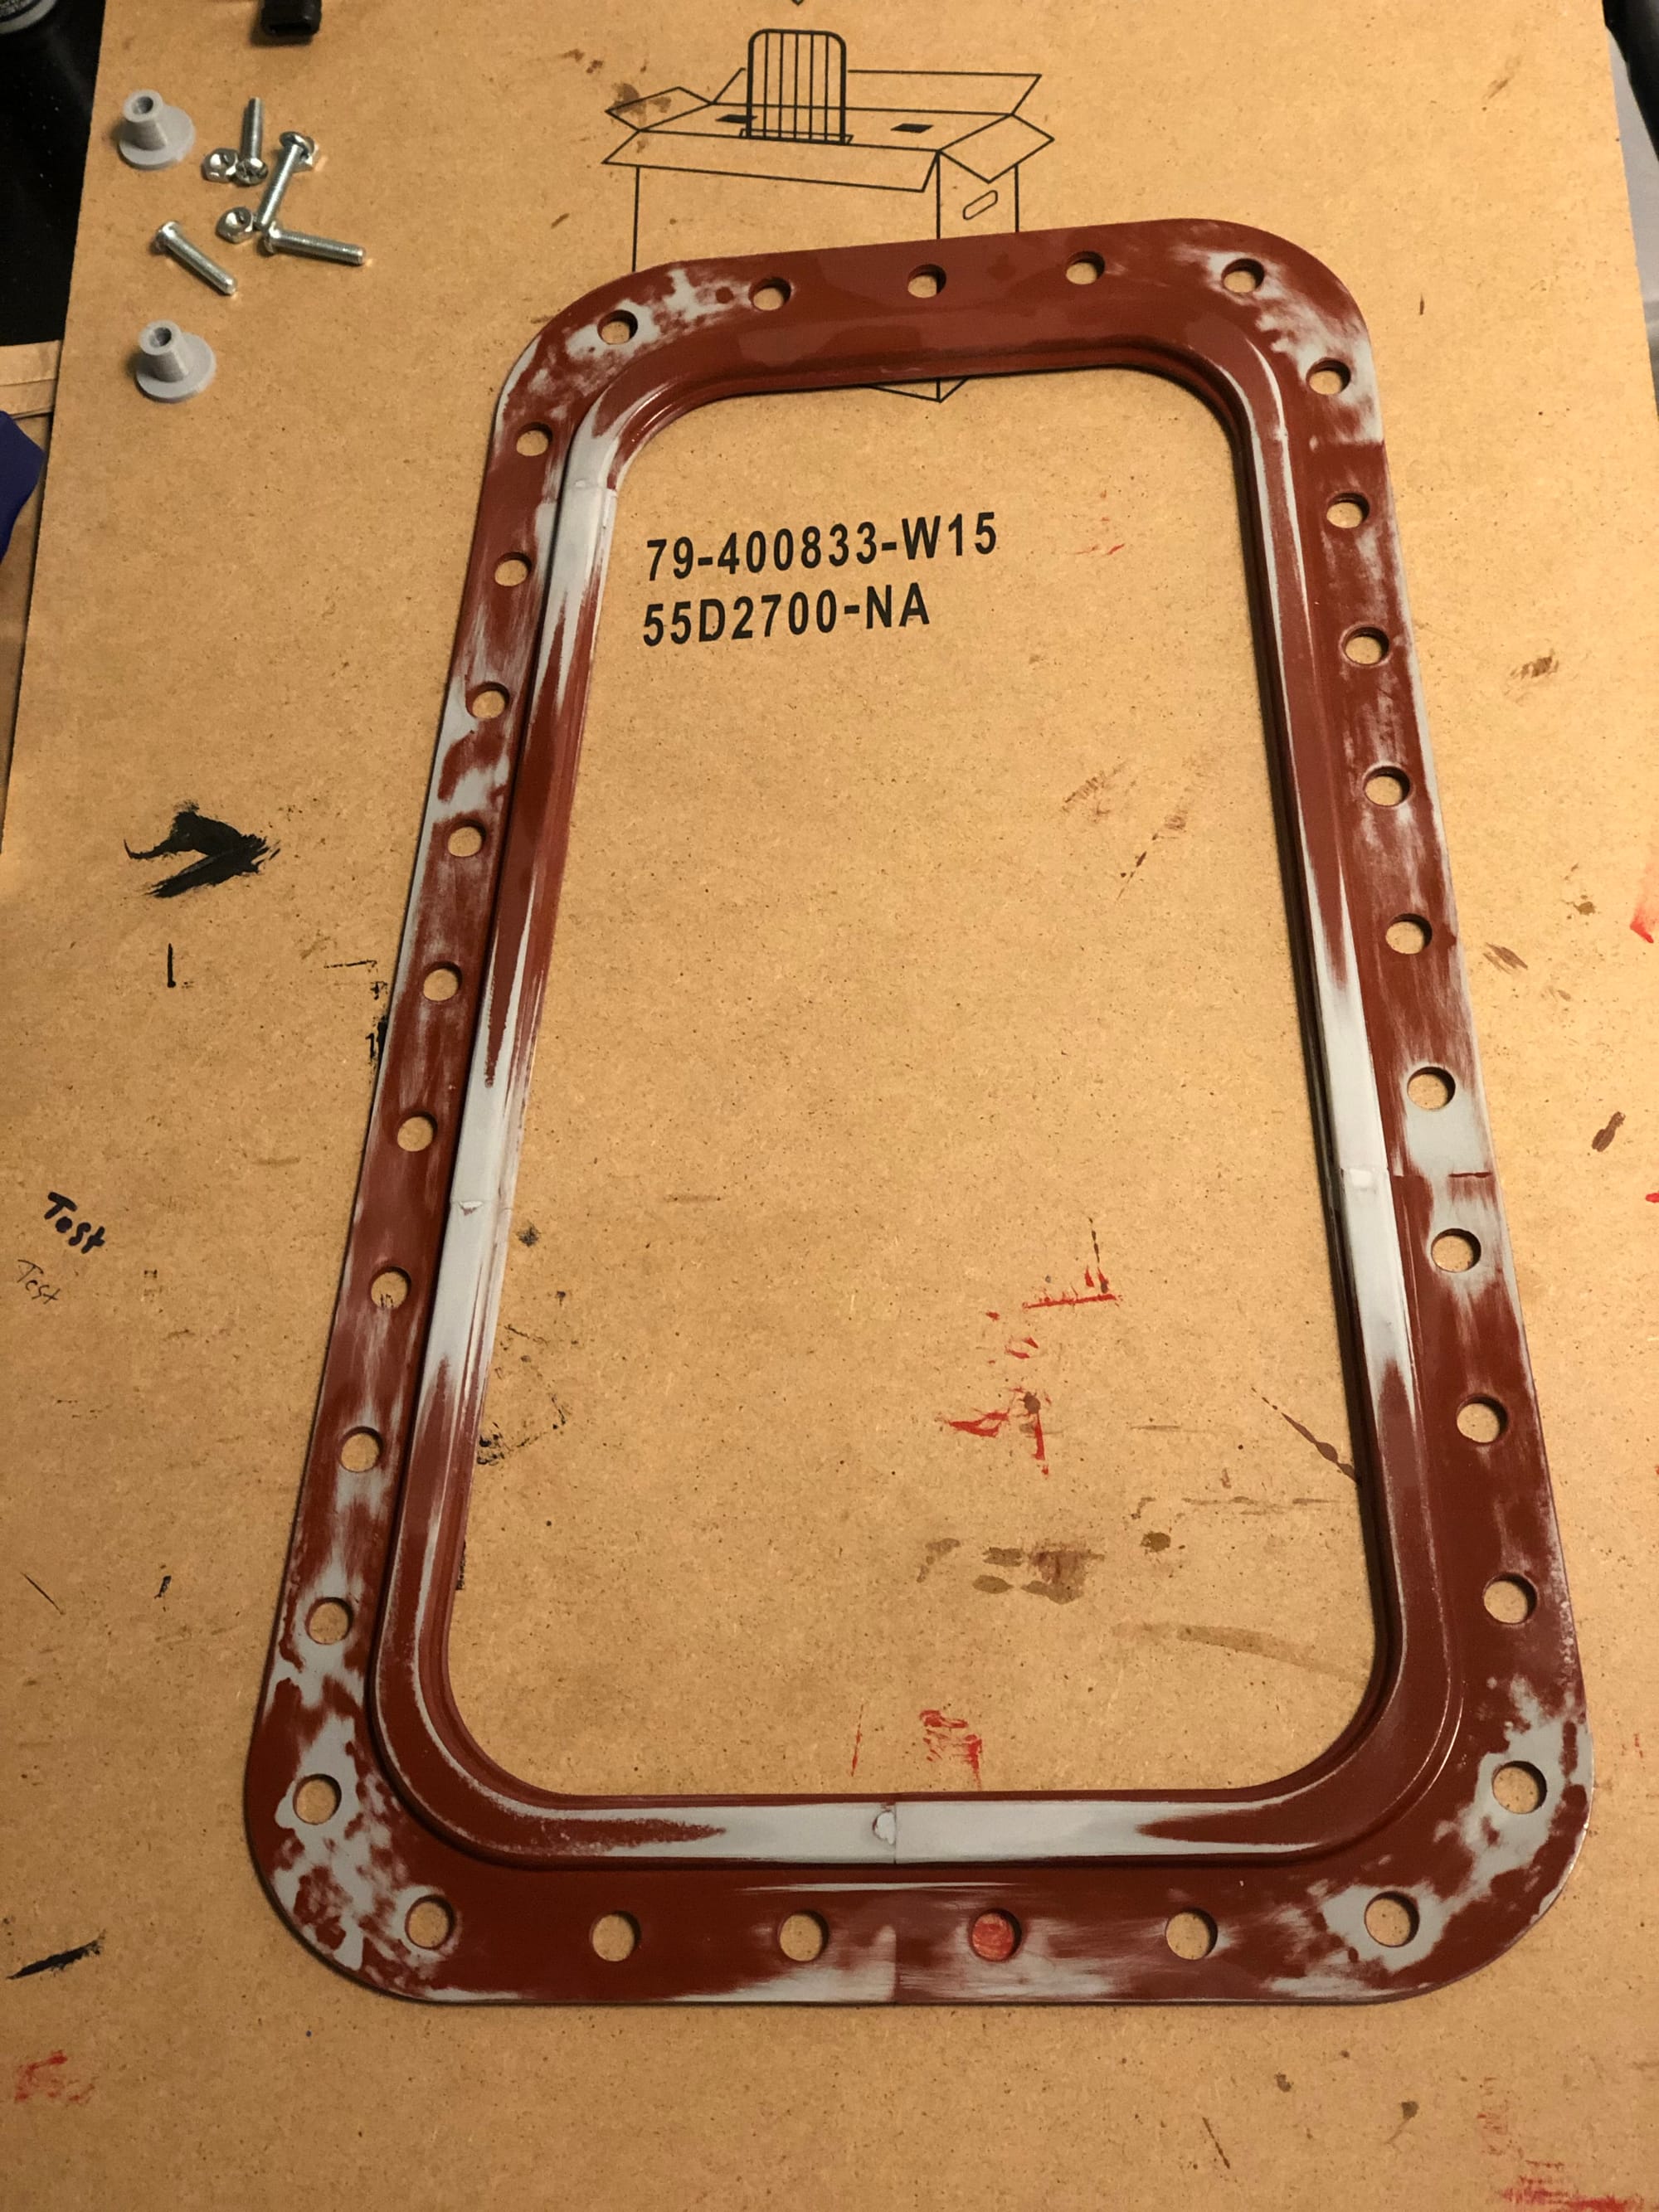
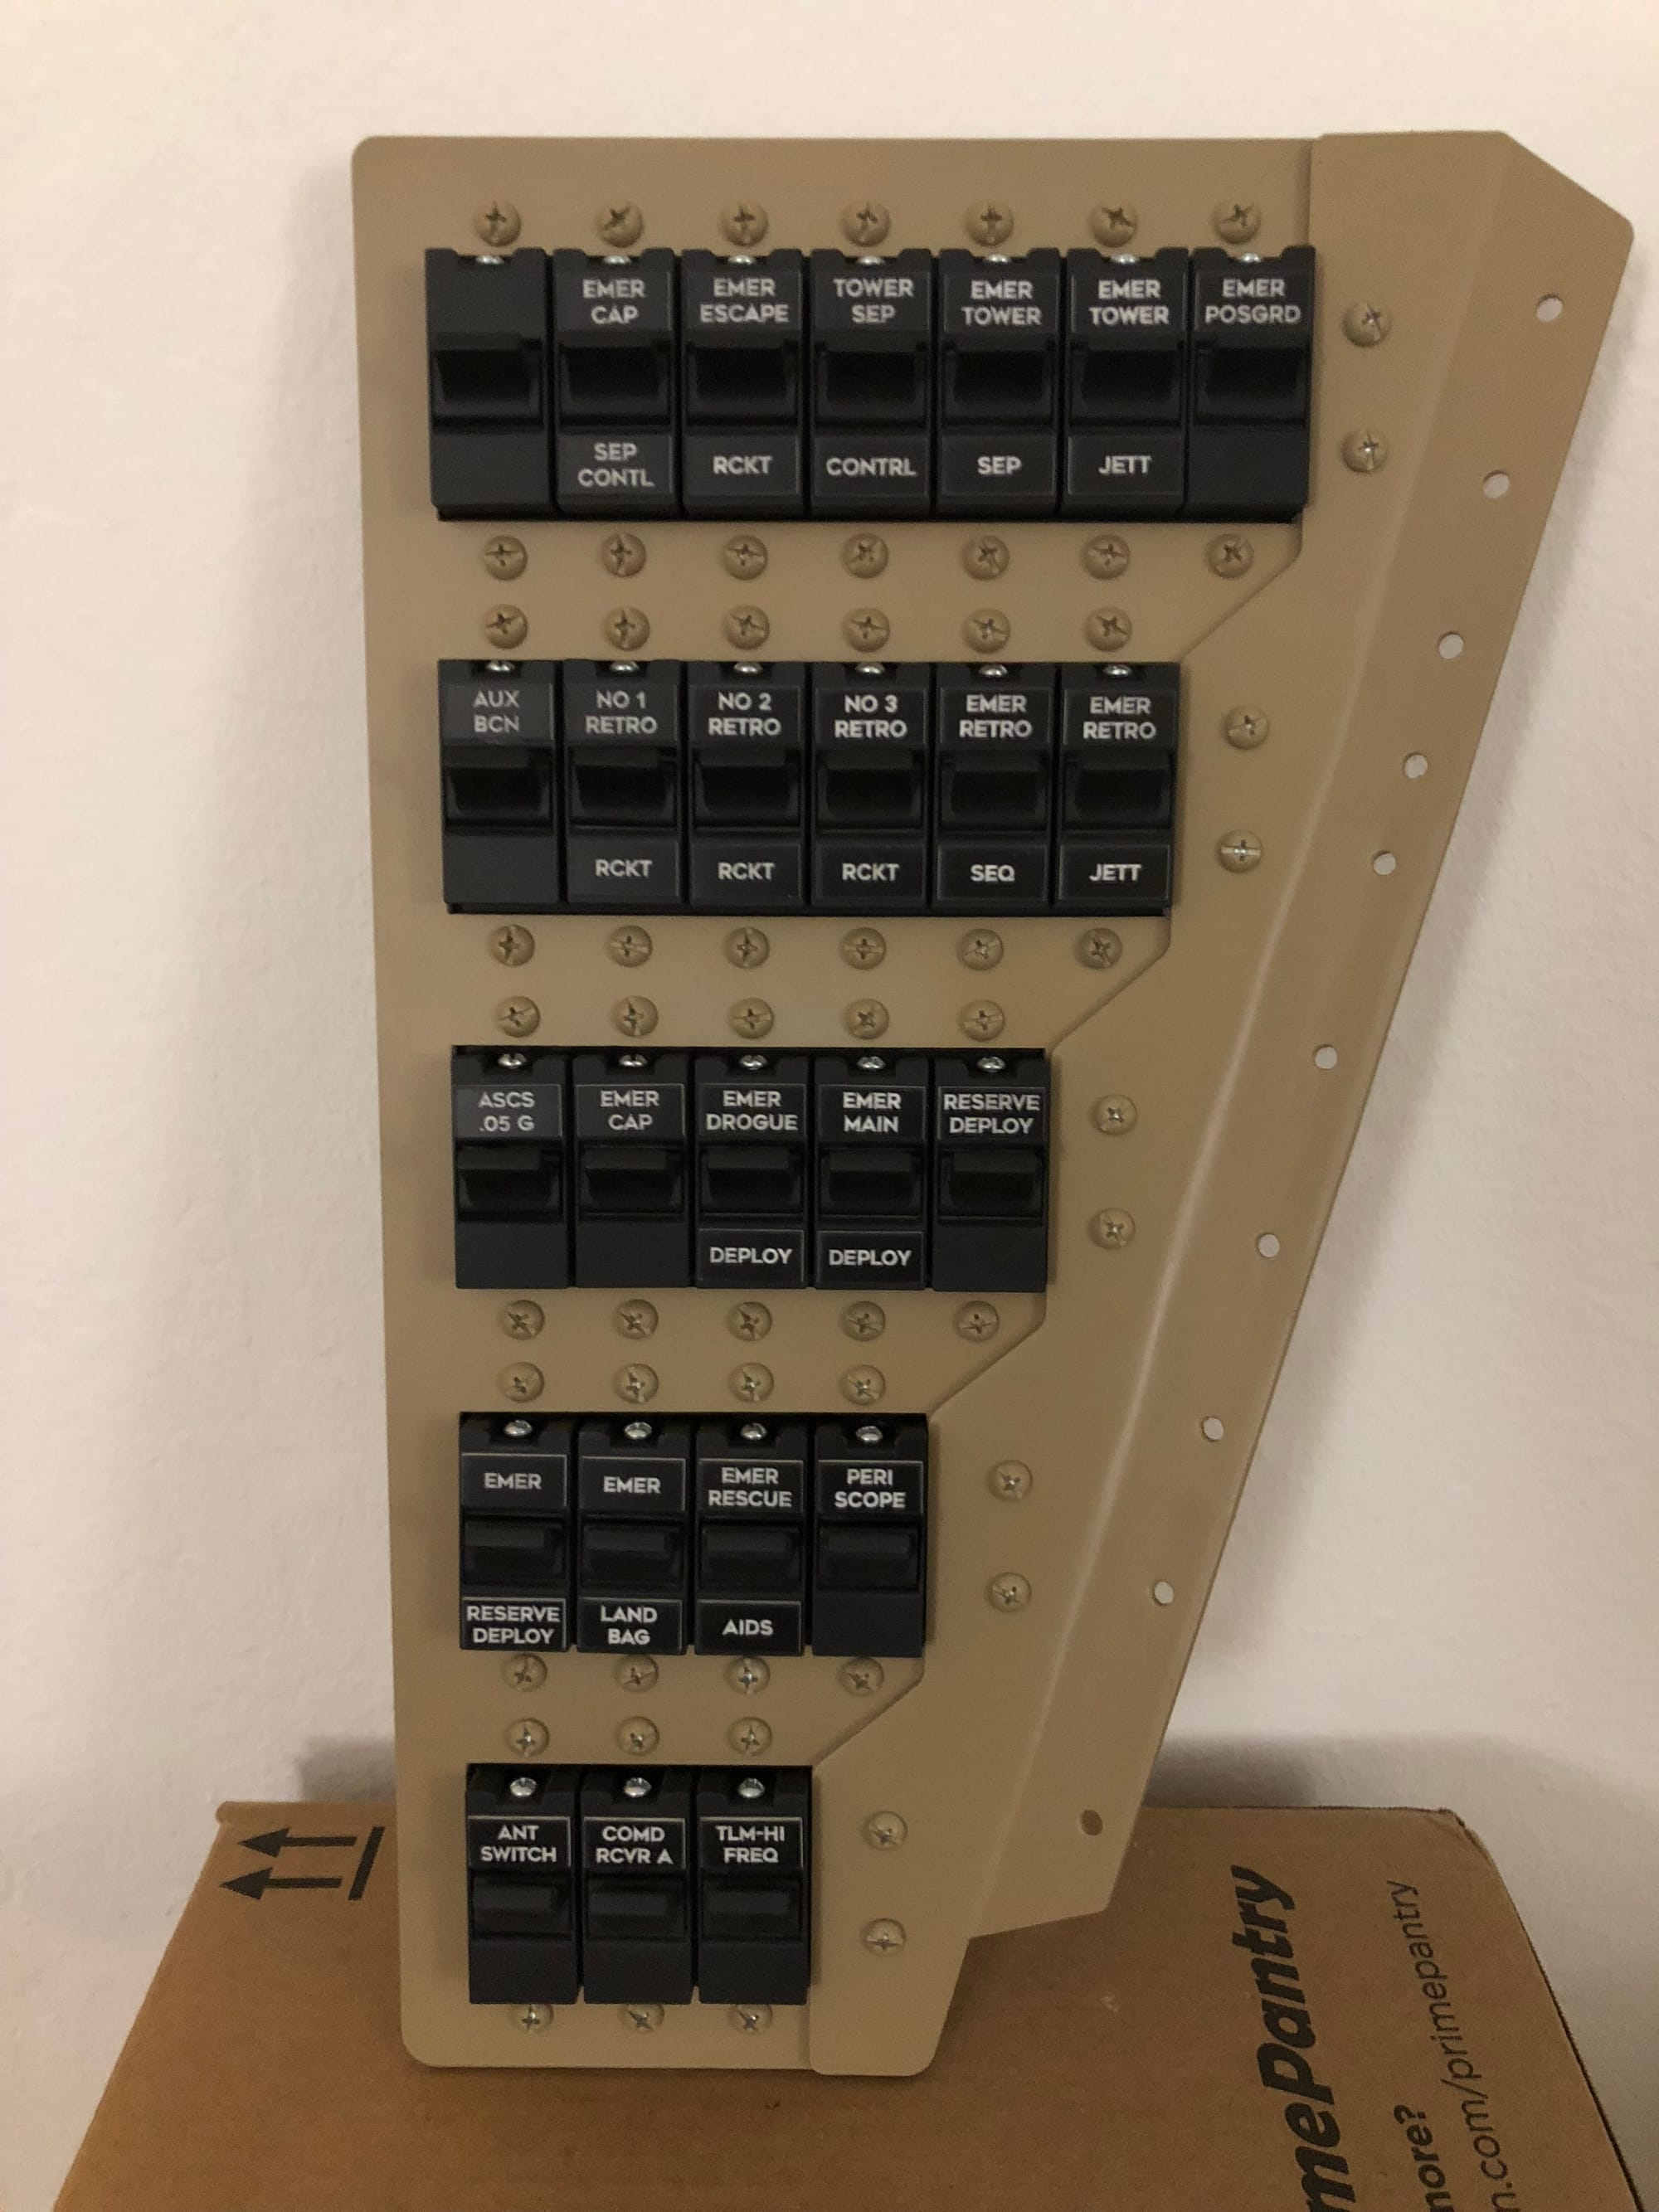
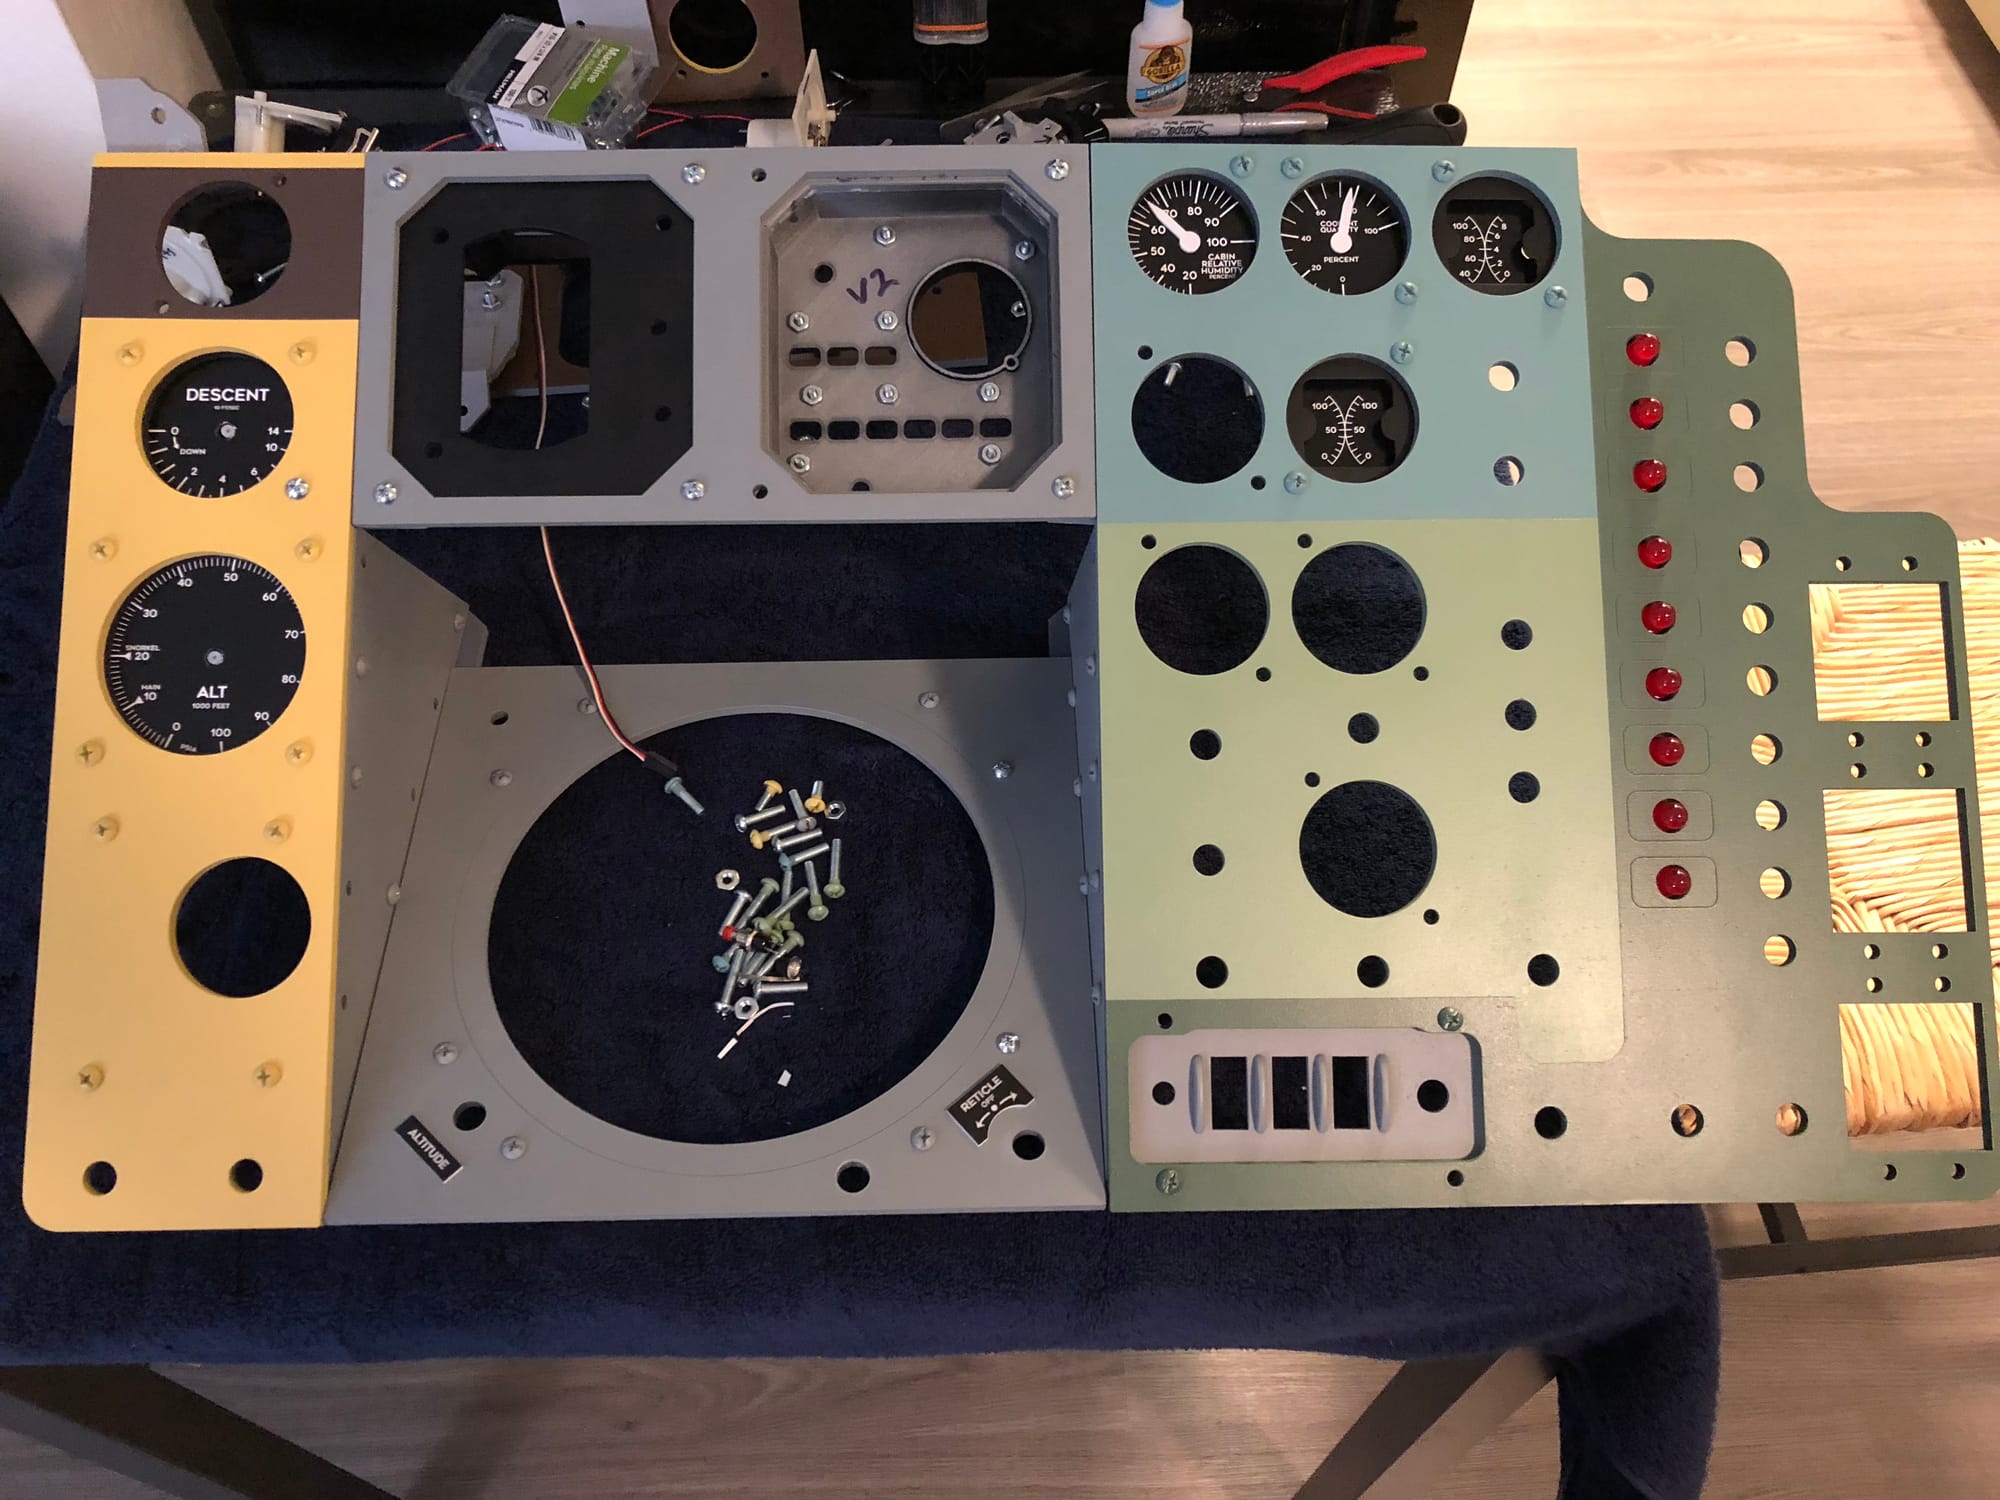
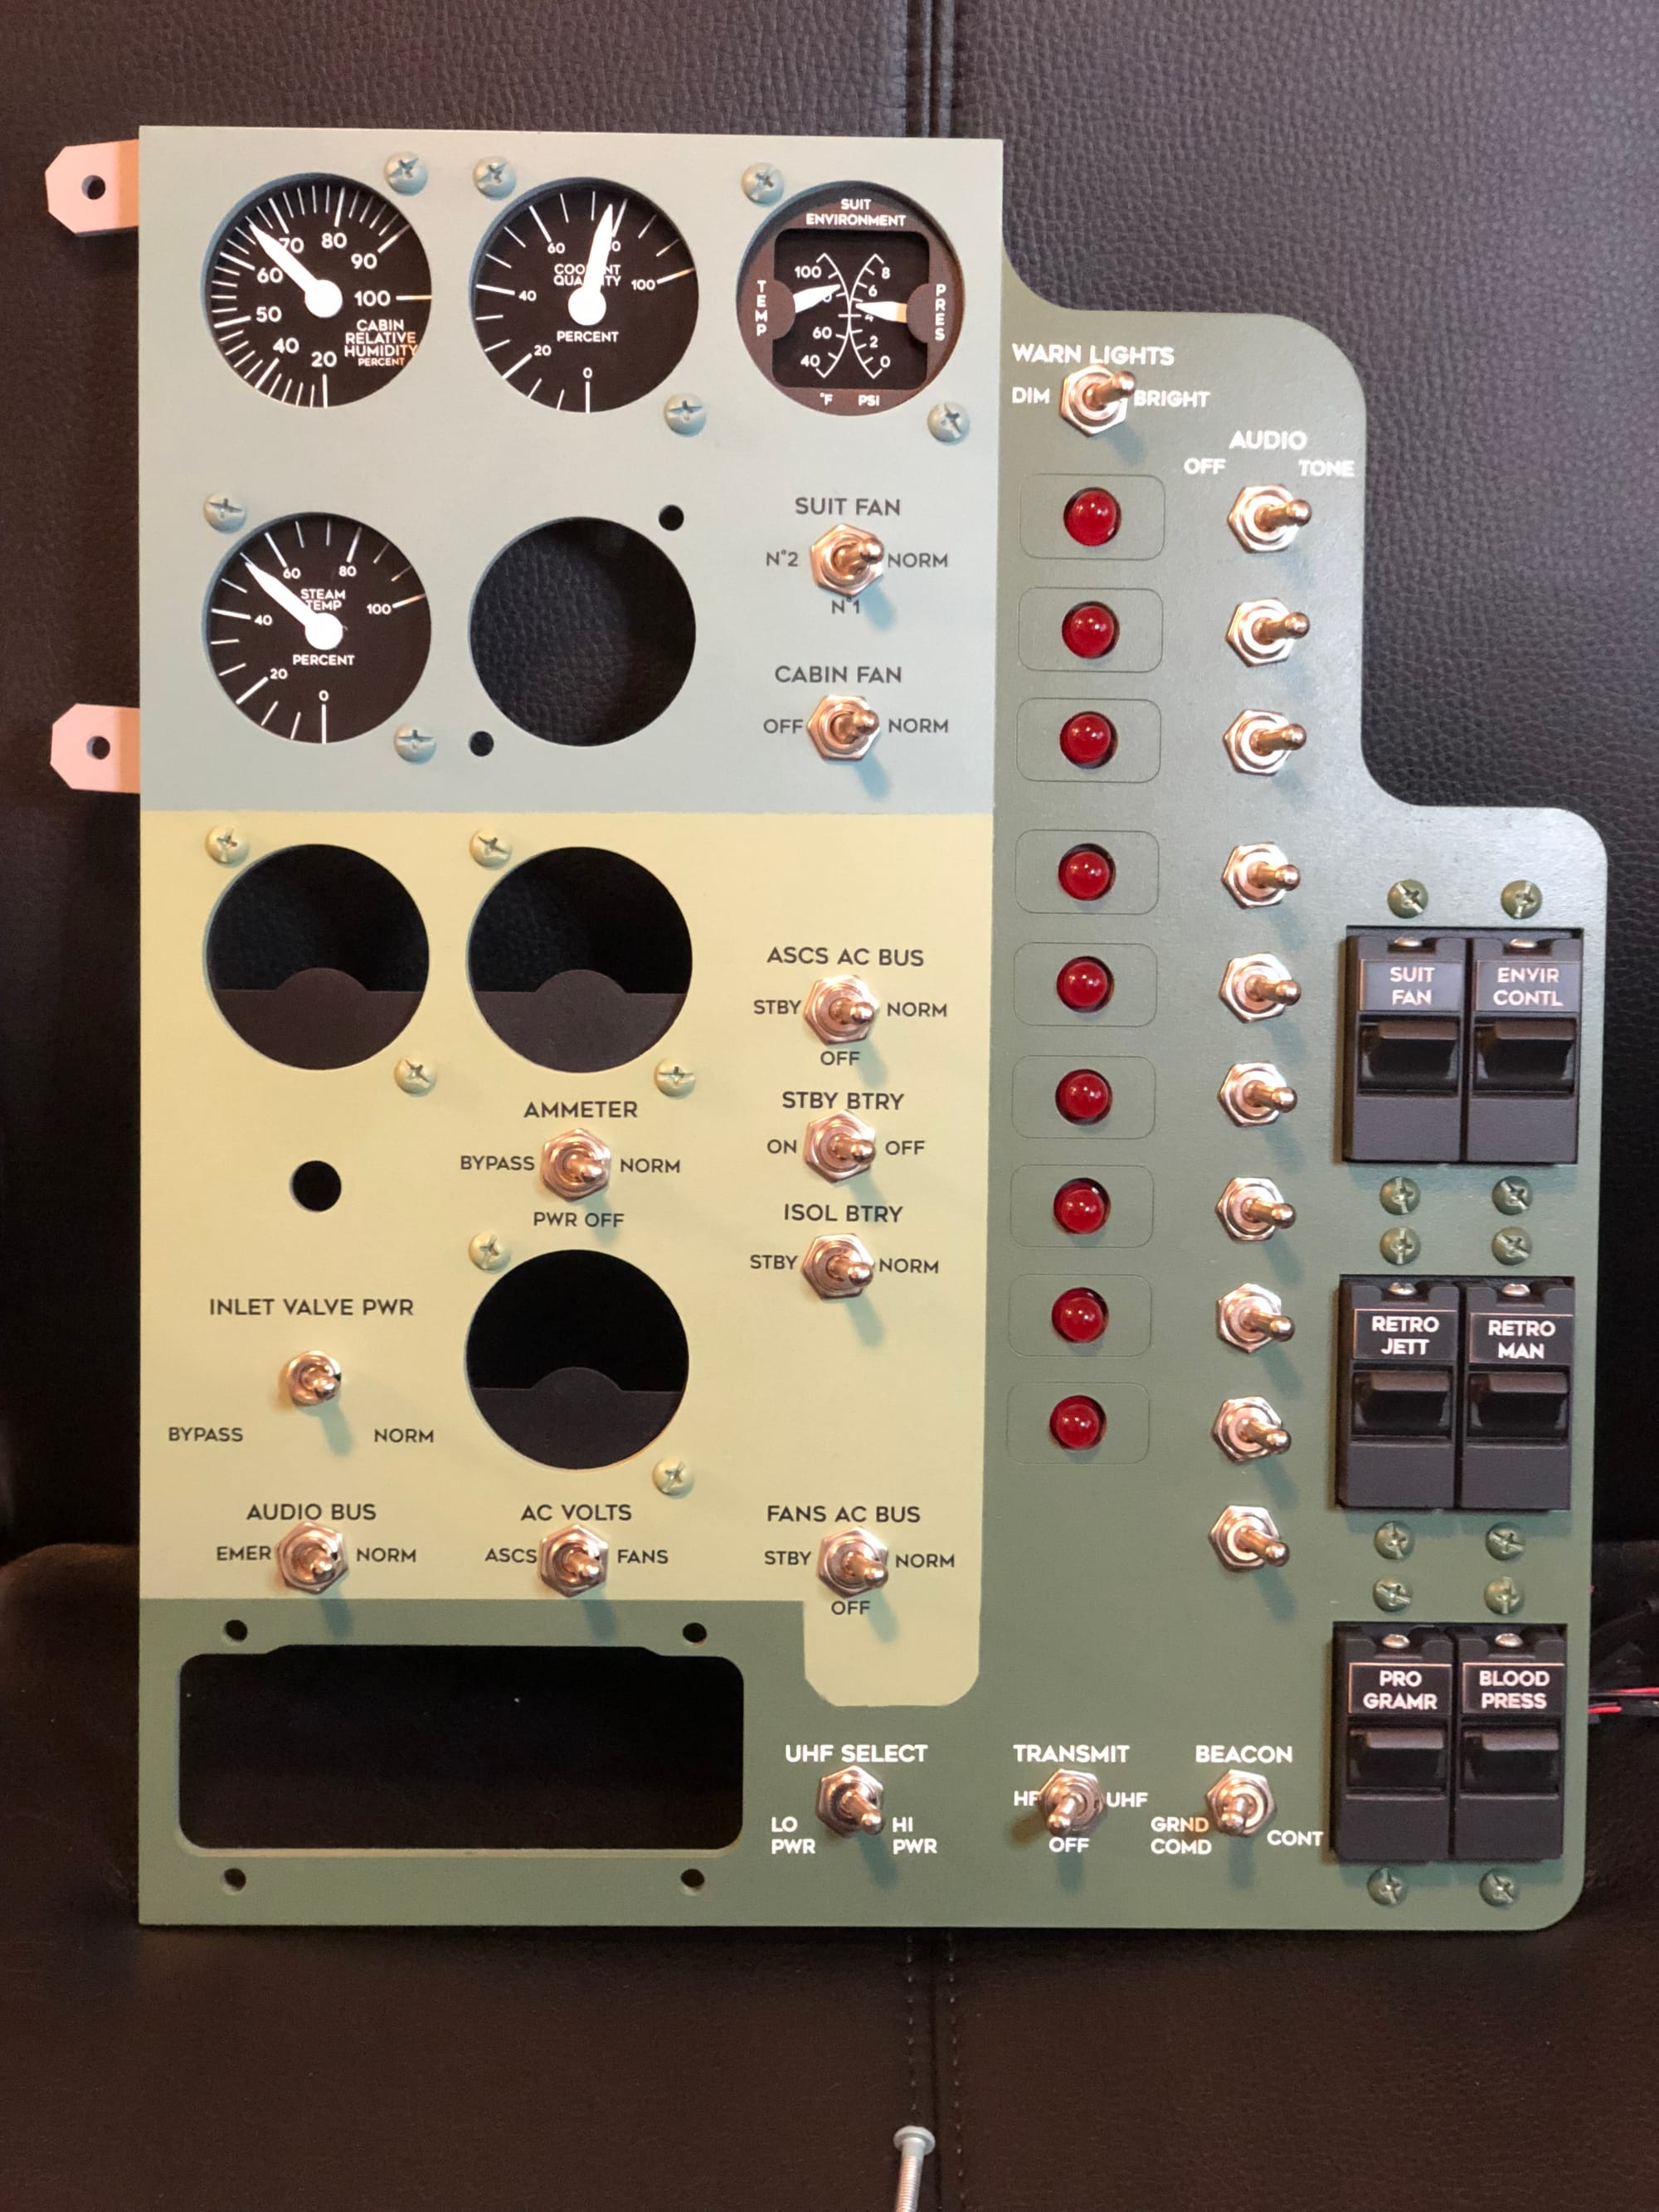
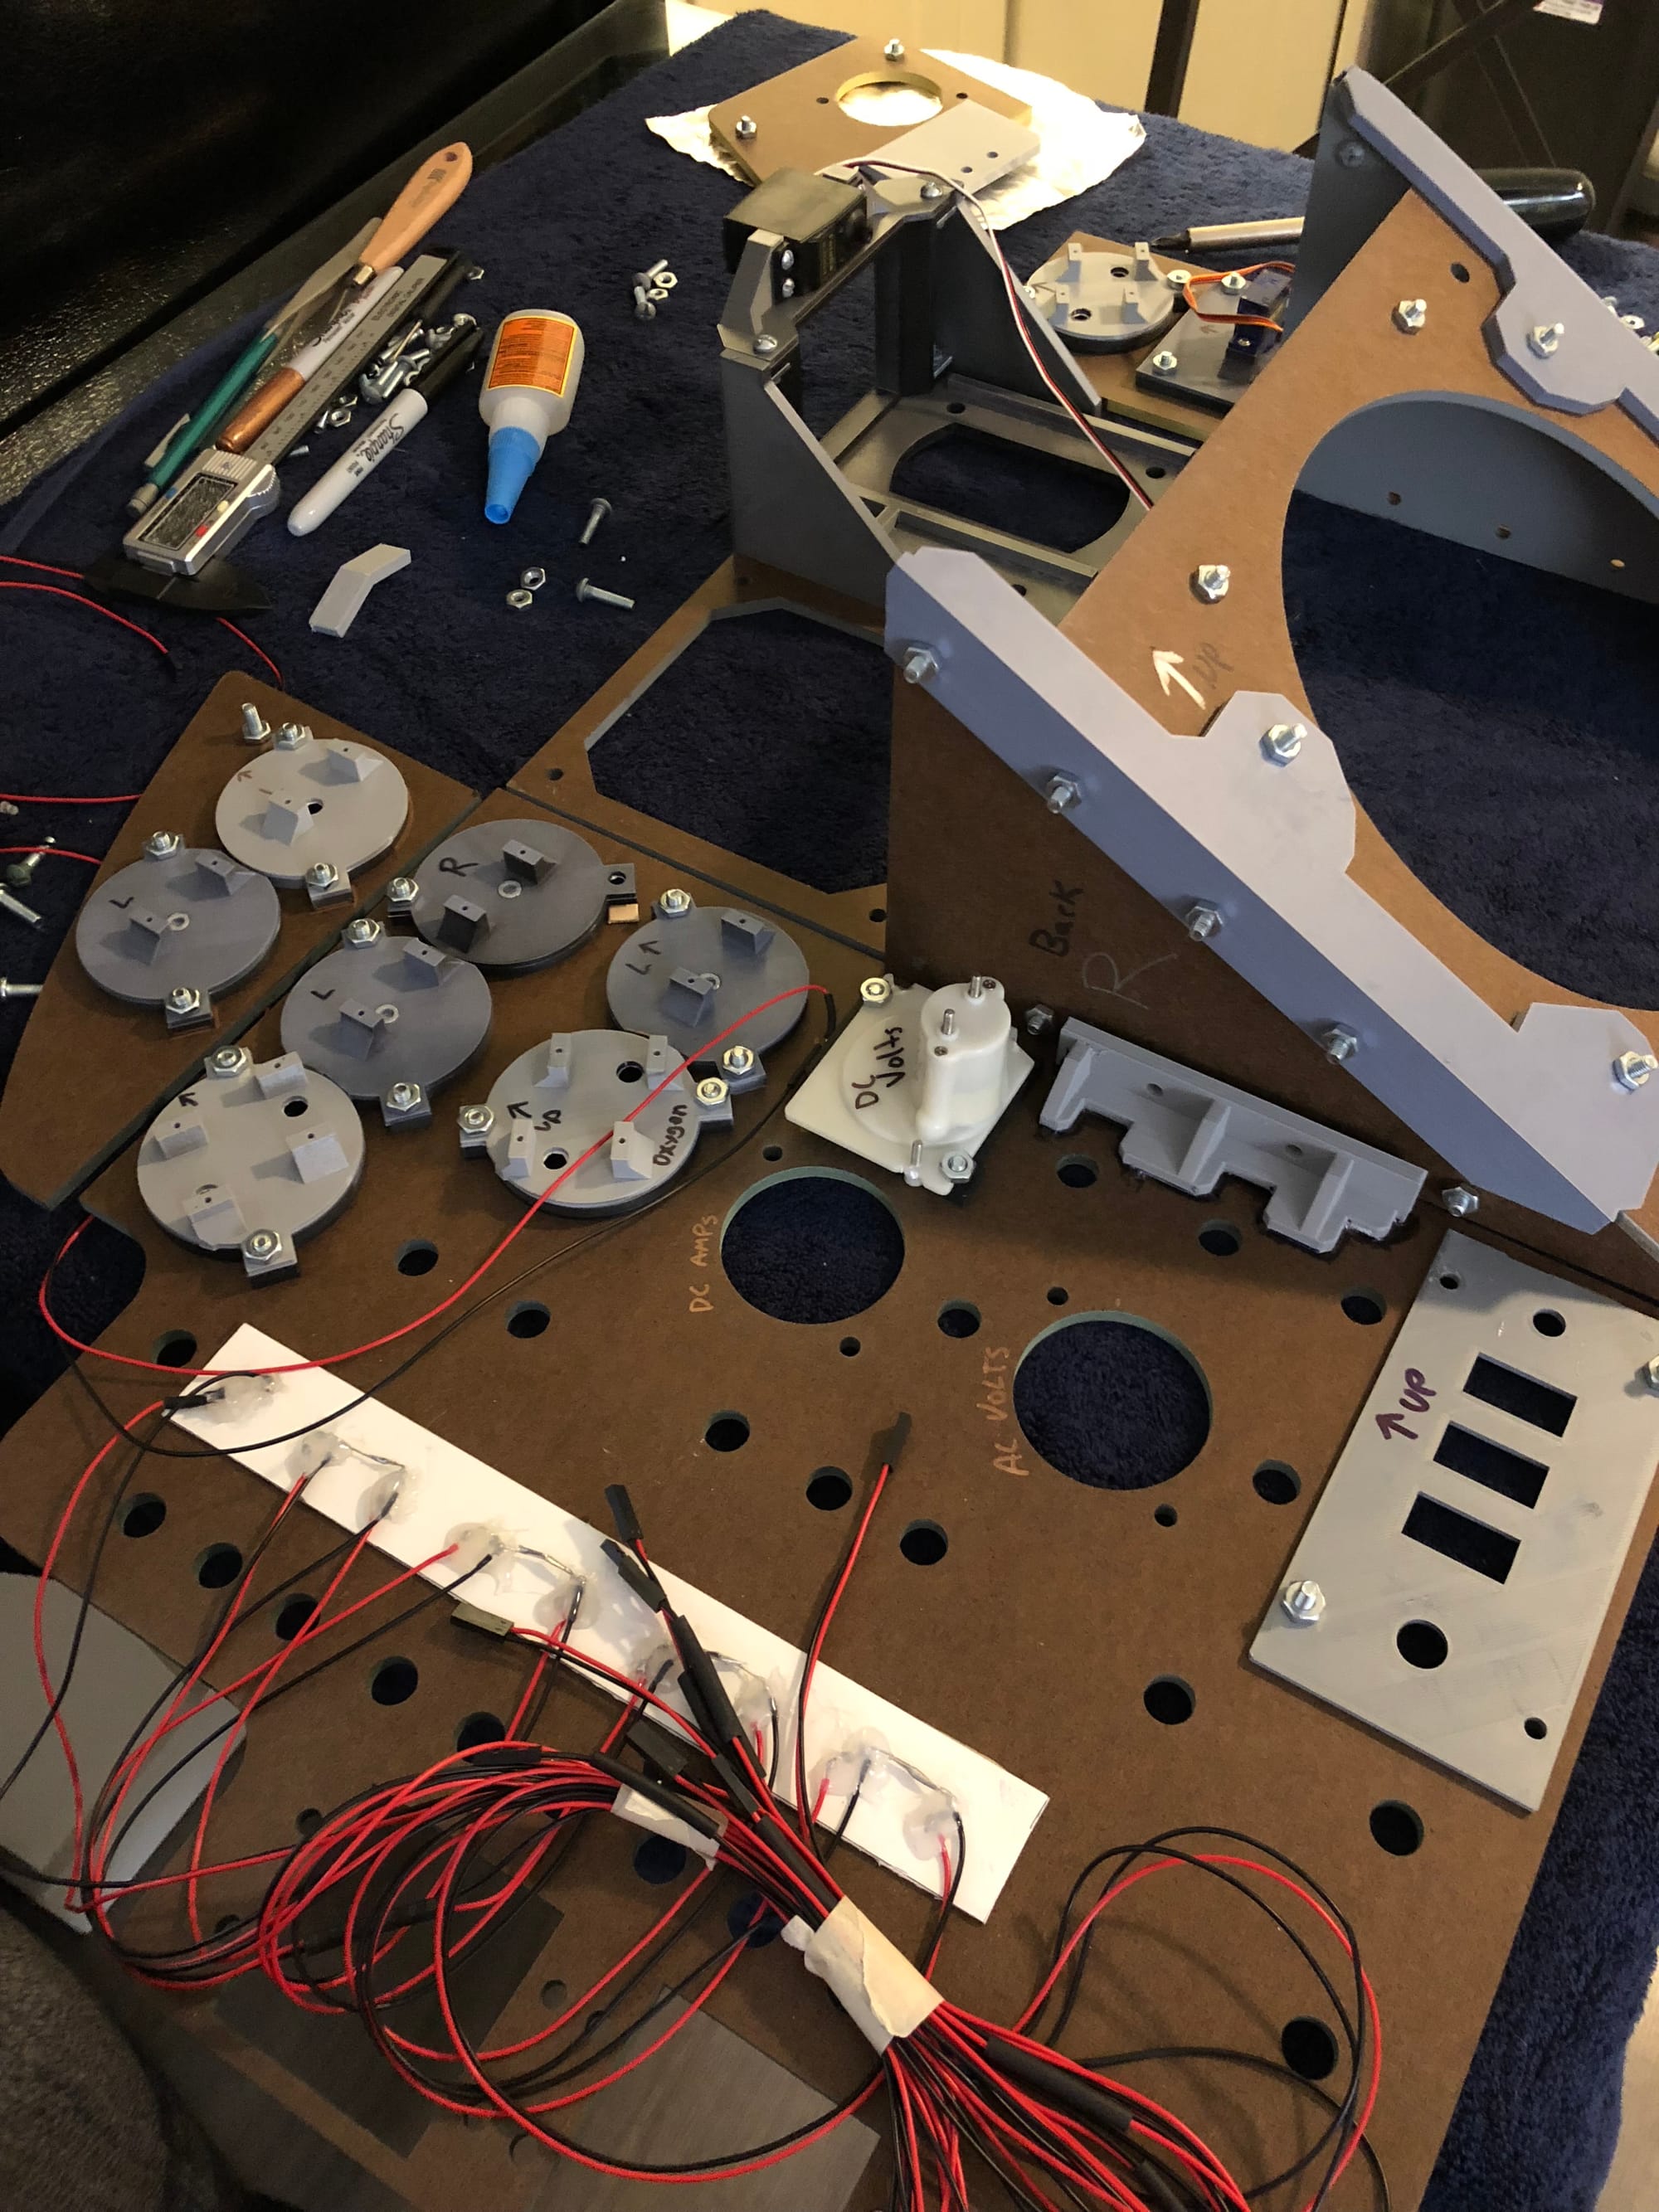
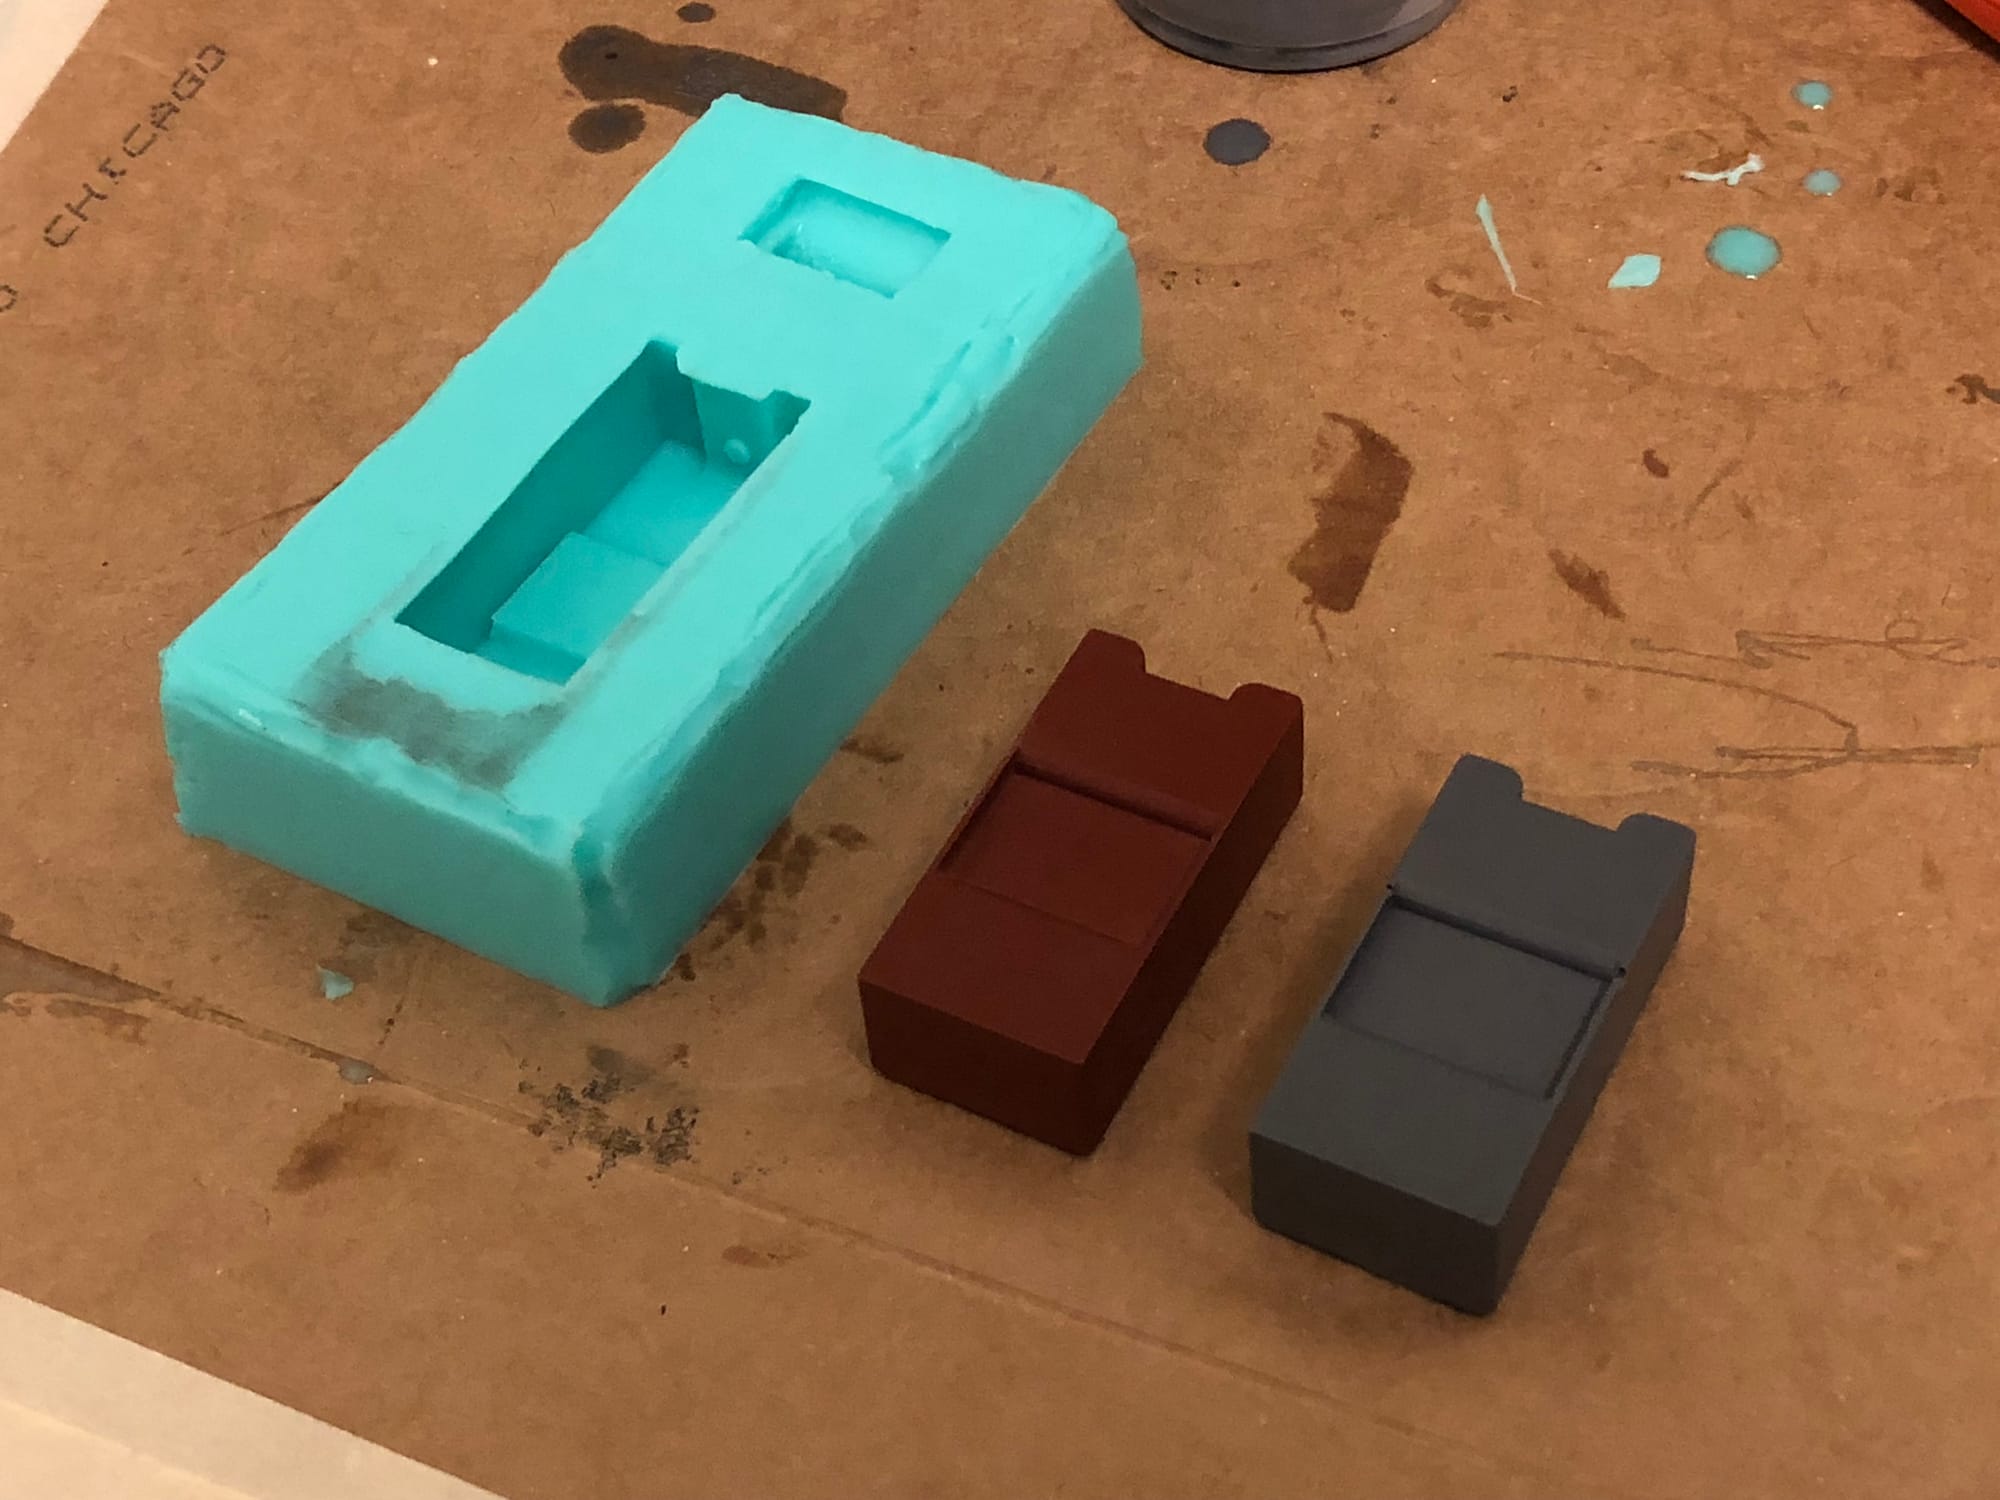
Control Panel construction
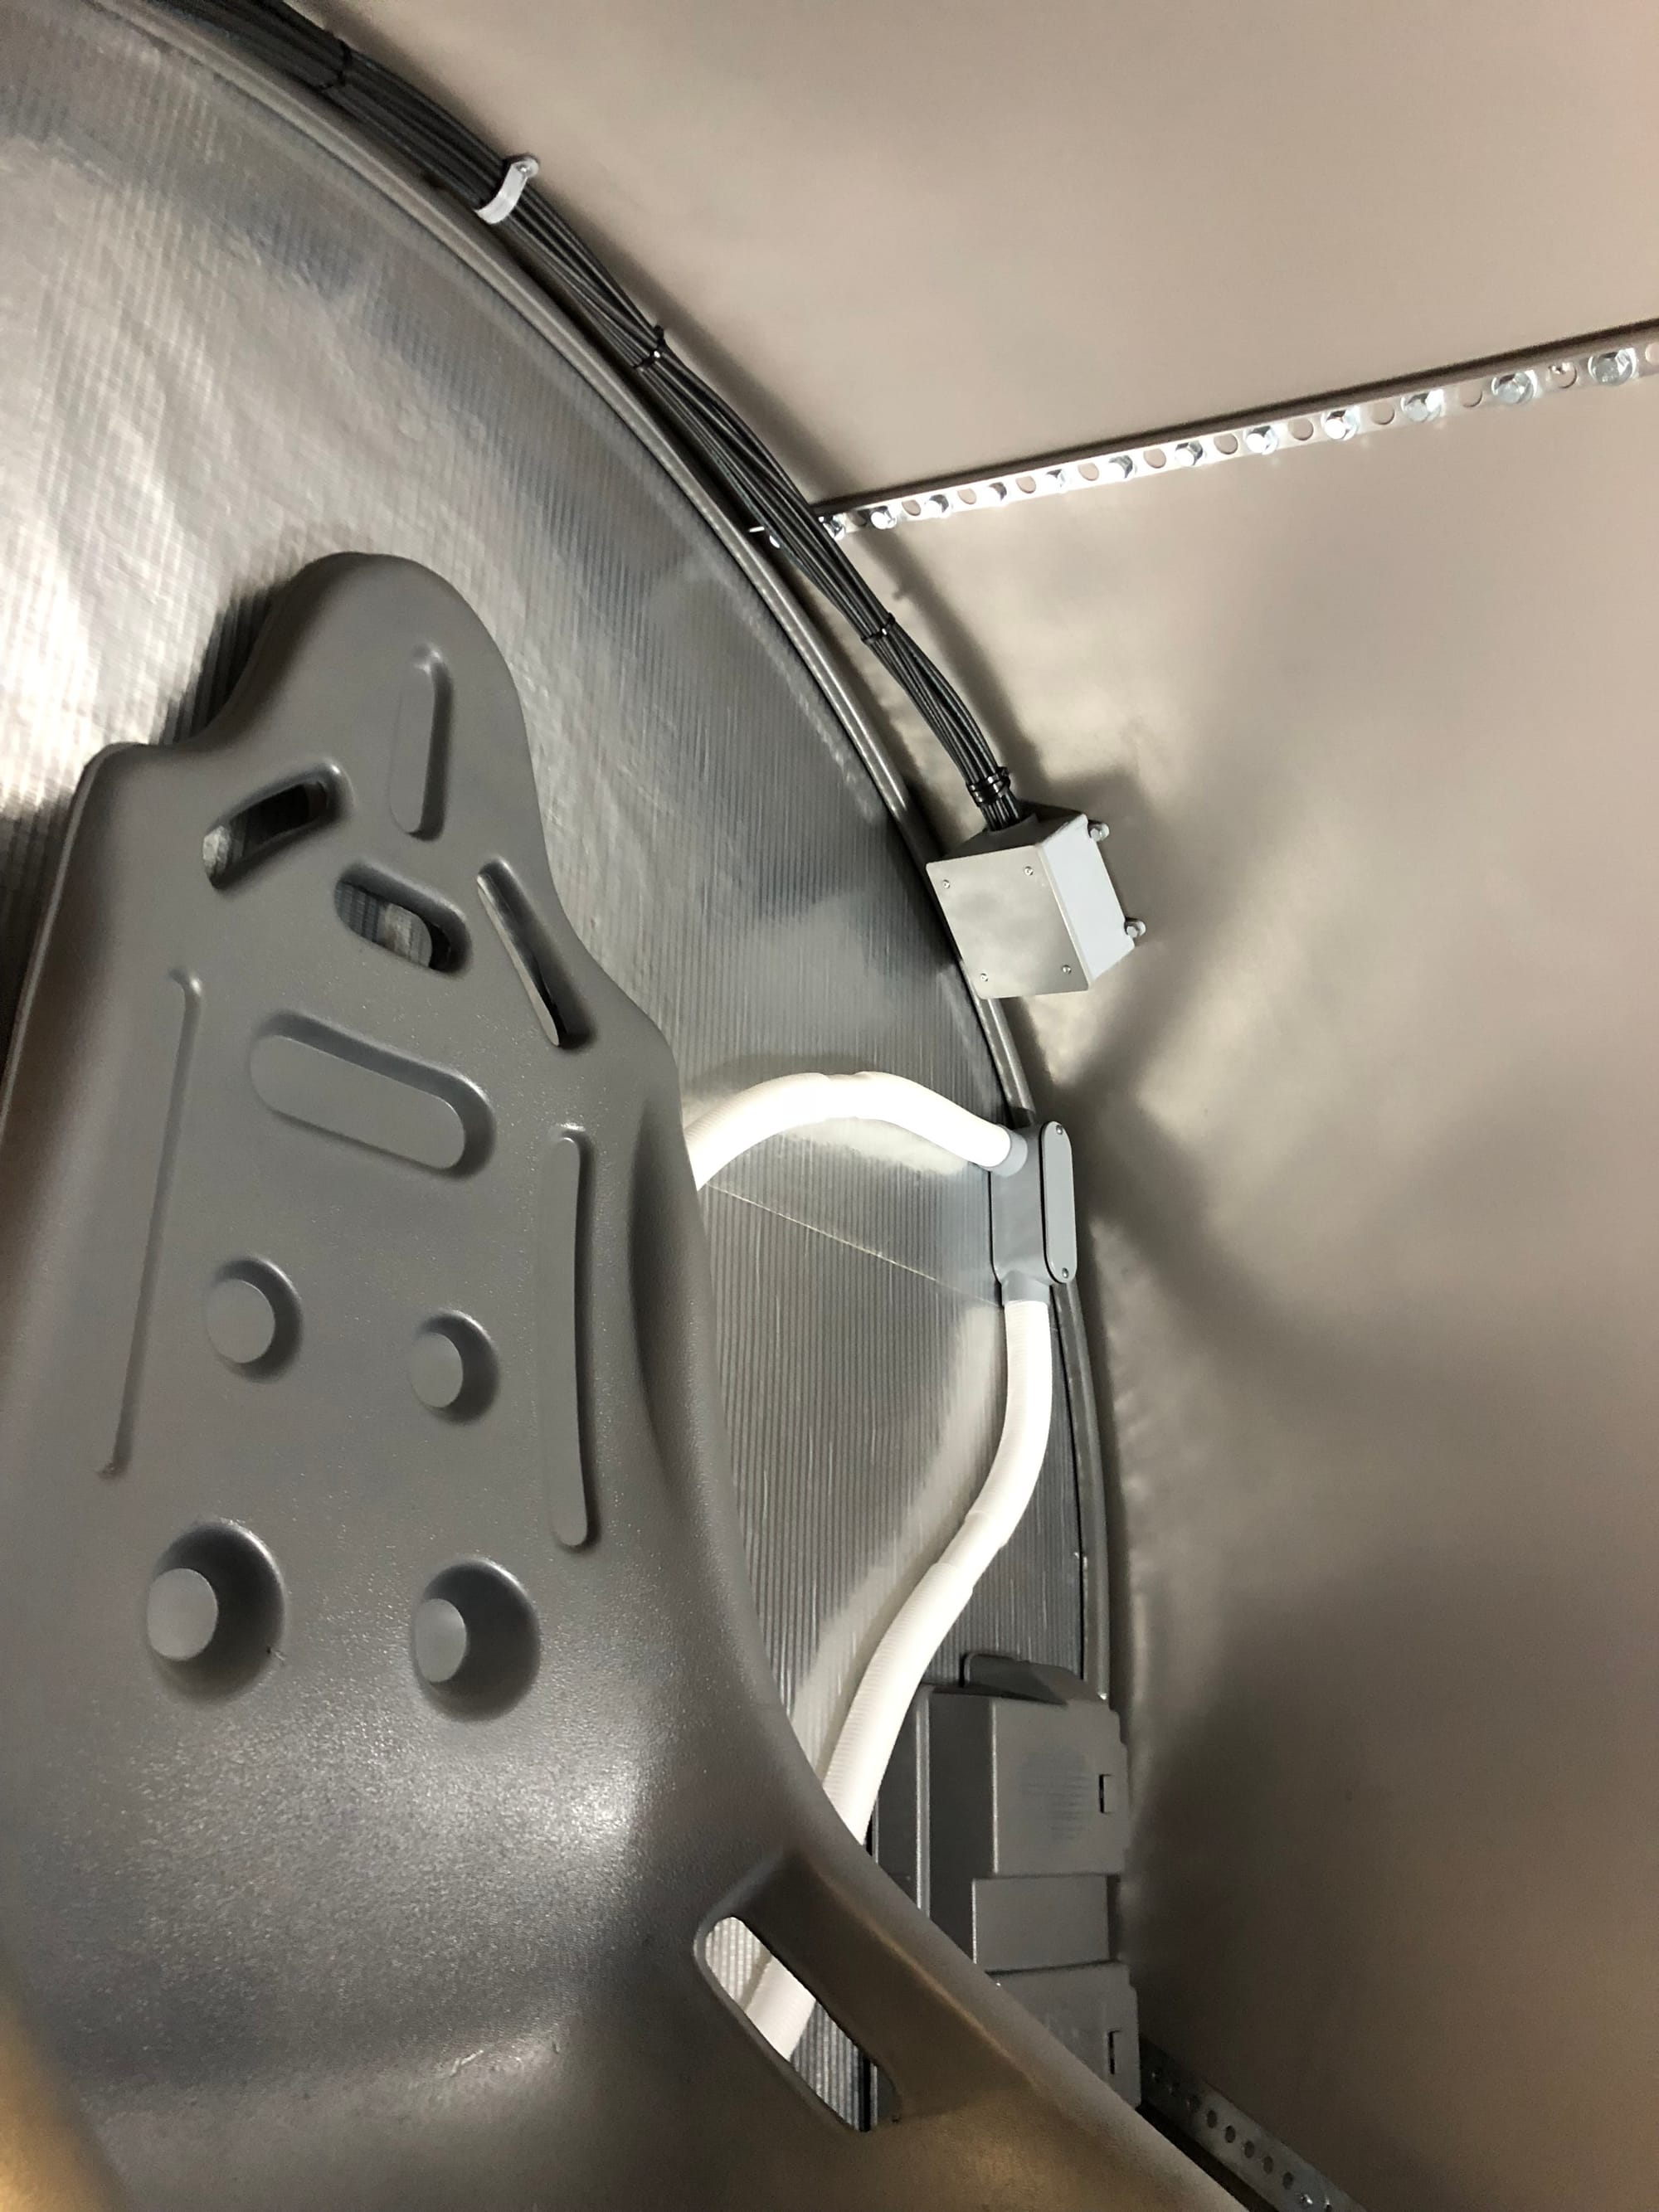
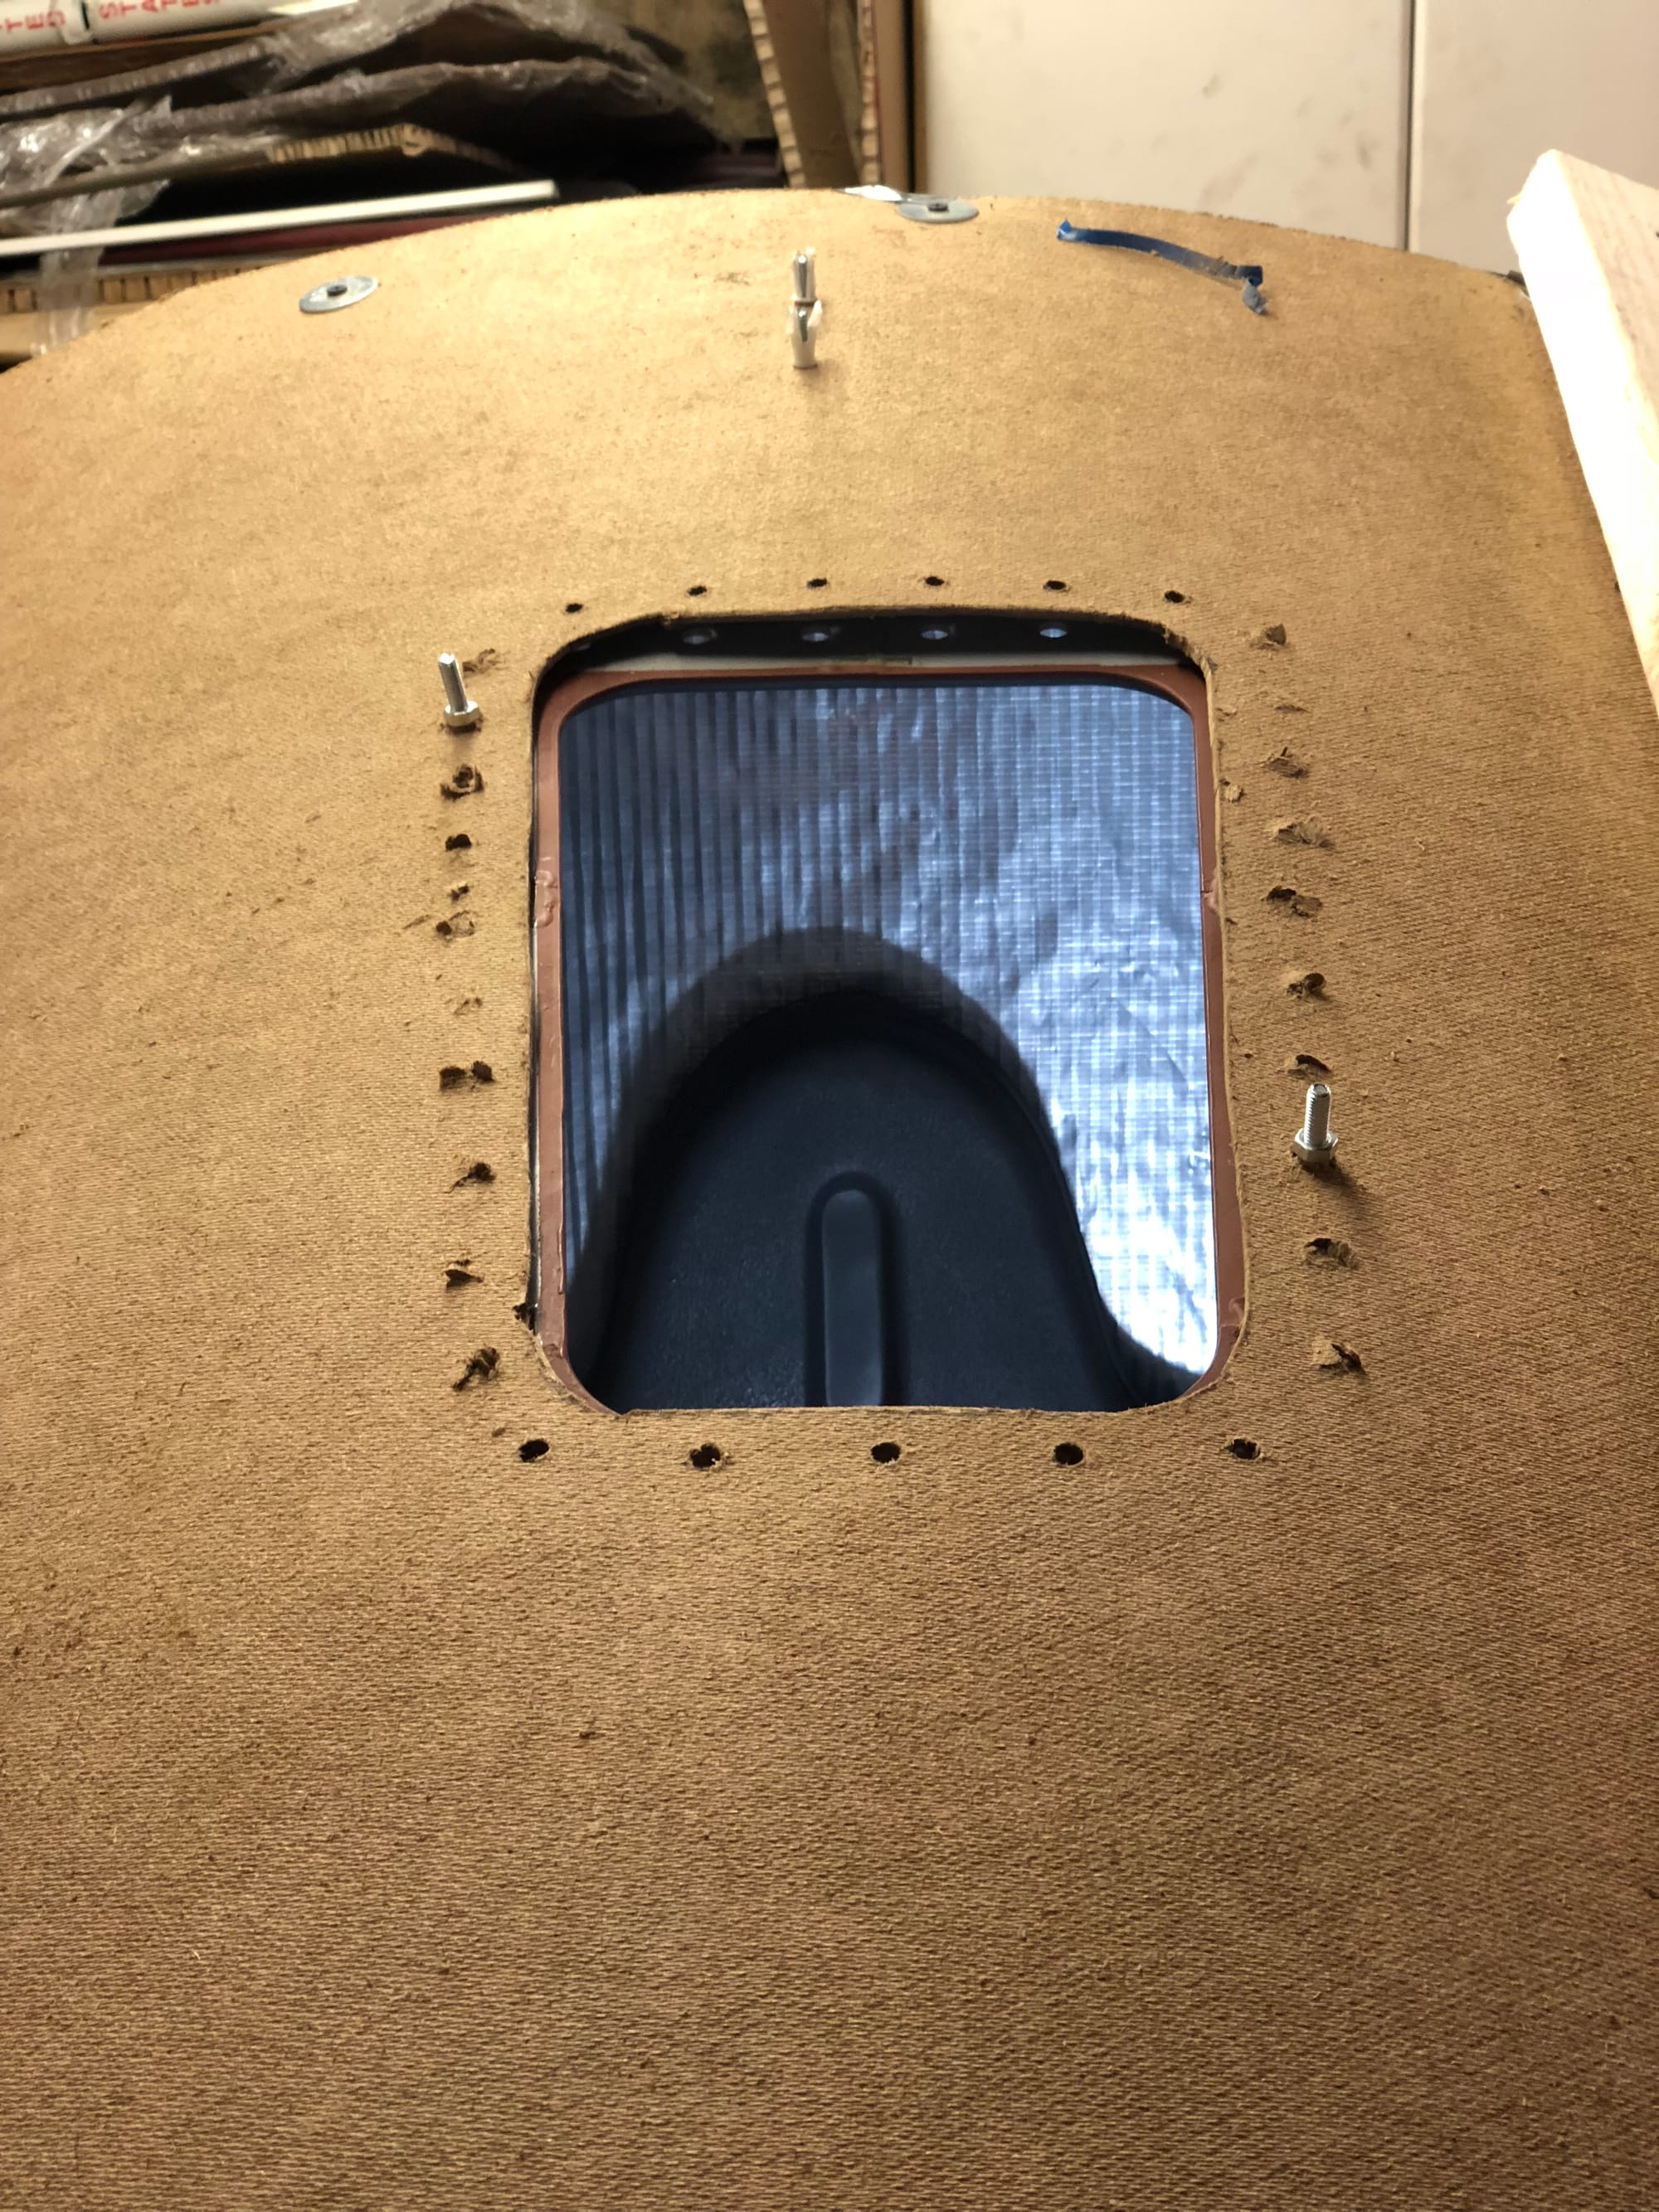
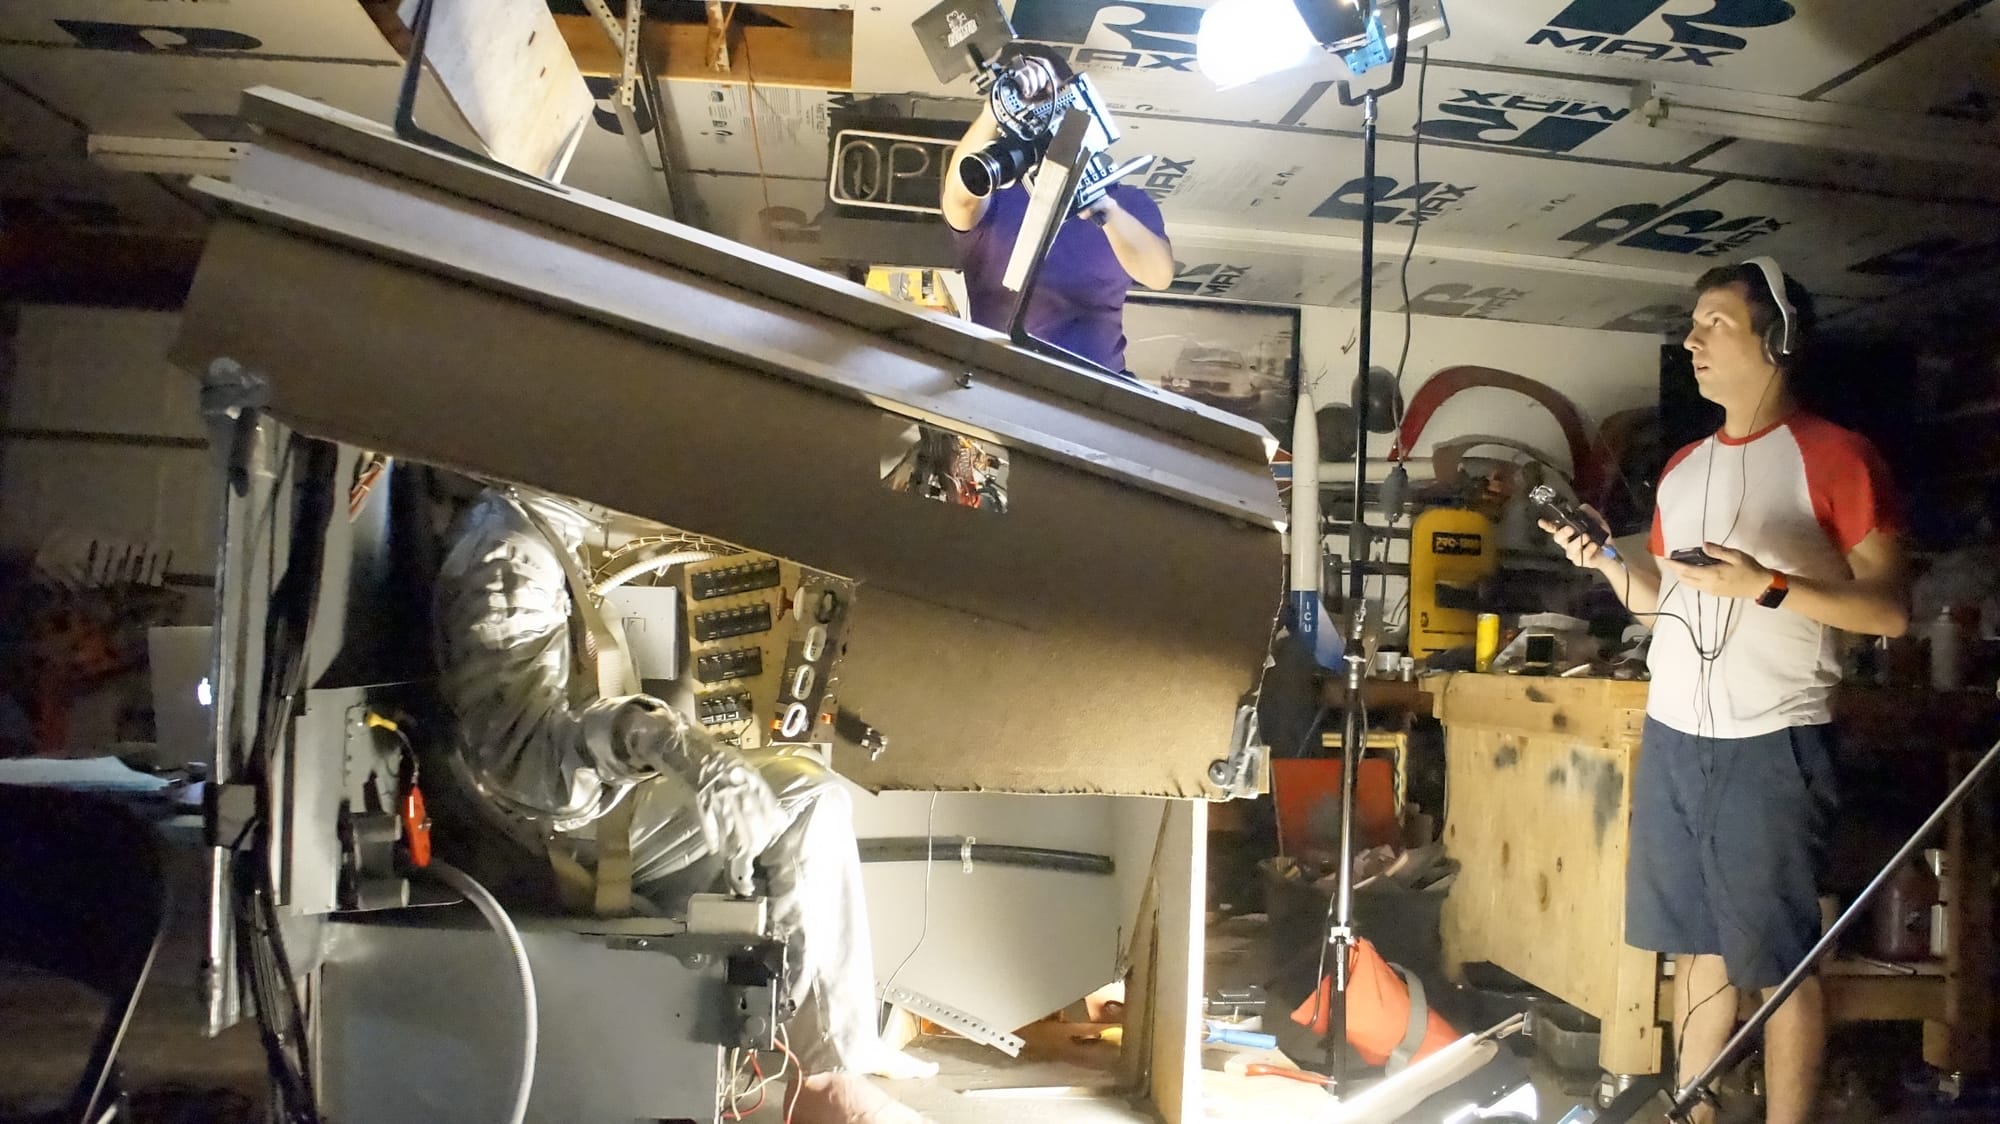
Once the panels were complete, we carefully packaged and shipped them to Houston, where we would build and film the cockpit. Working out of a makeshift studio space, we constructed the full capsule structure using ordinary 2x4s and scrap wood.
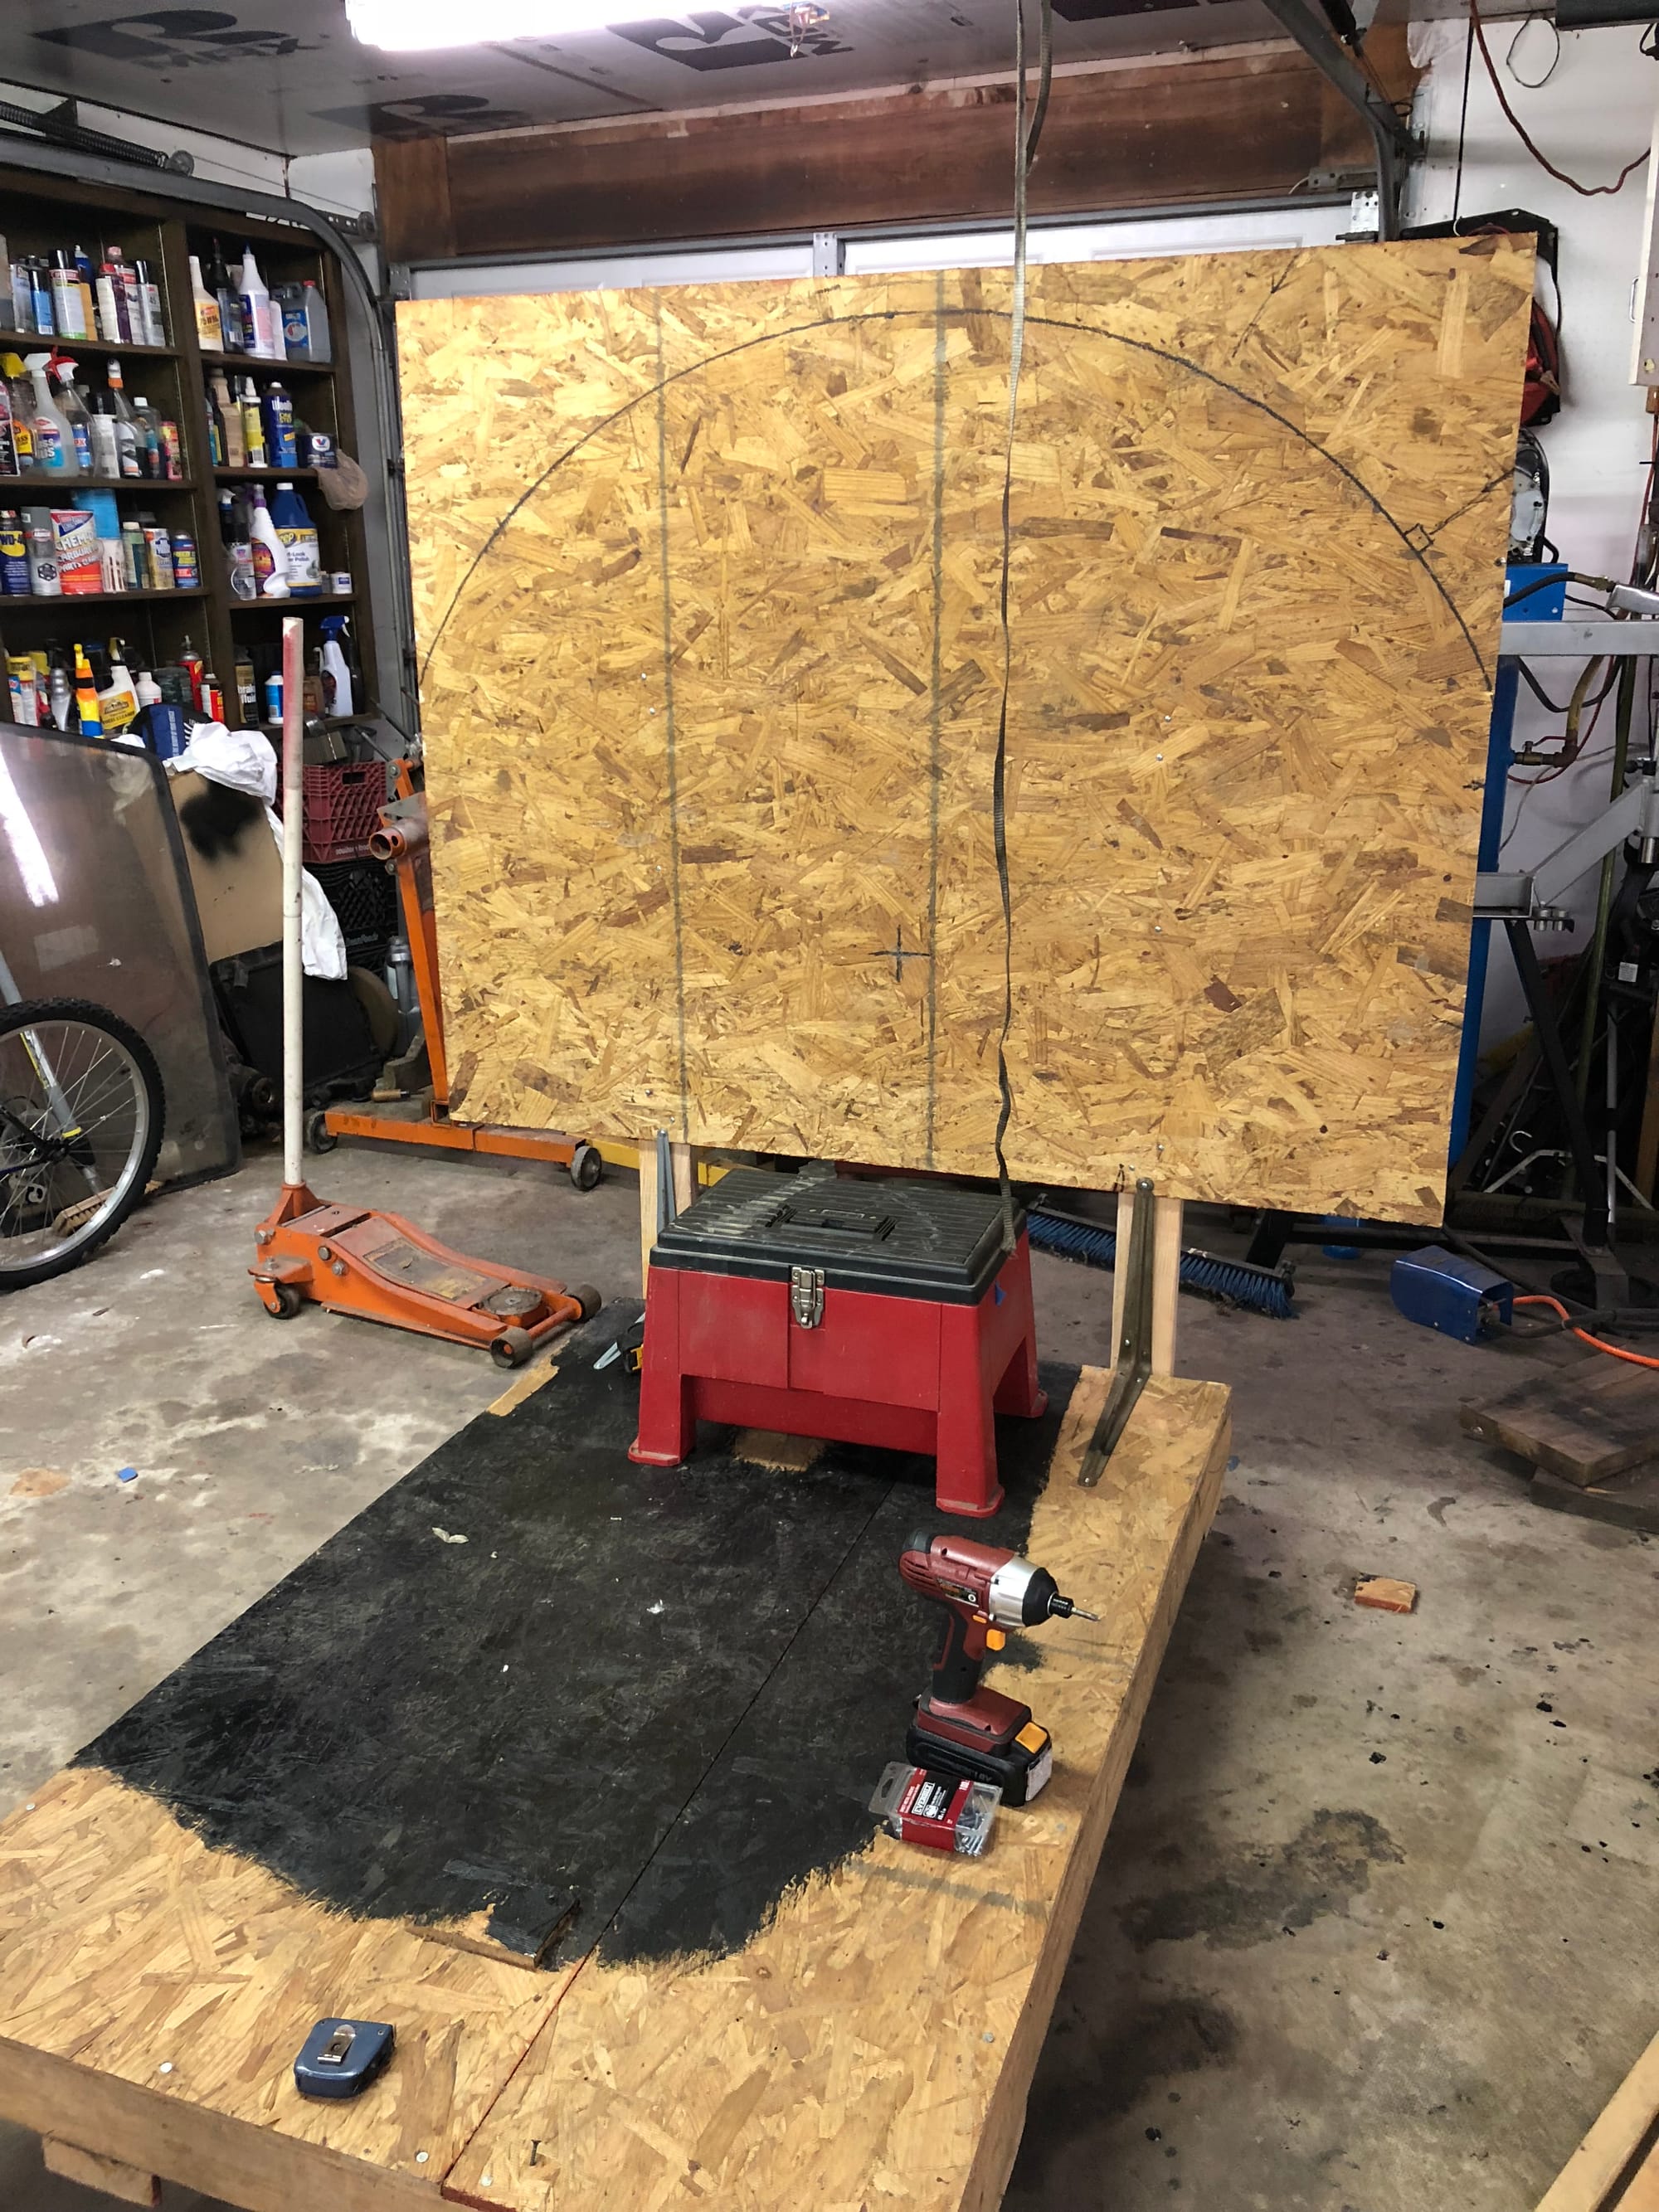
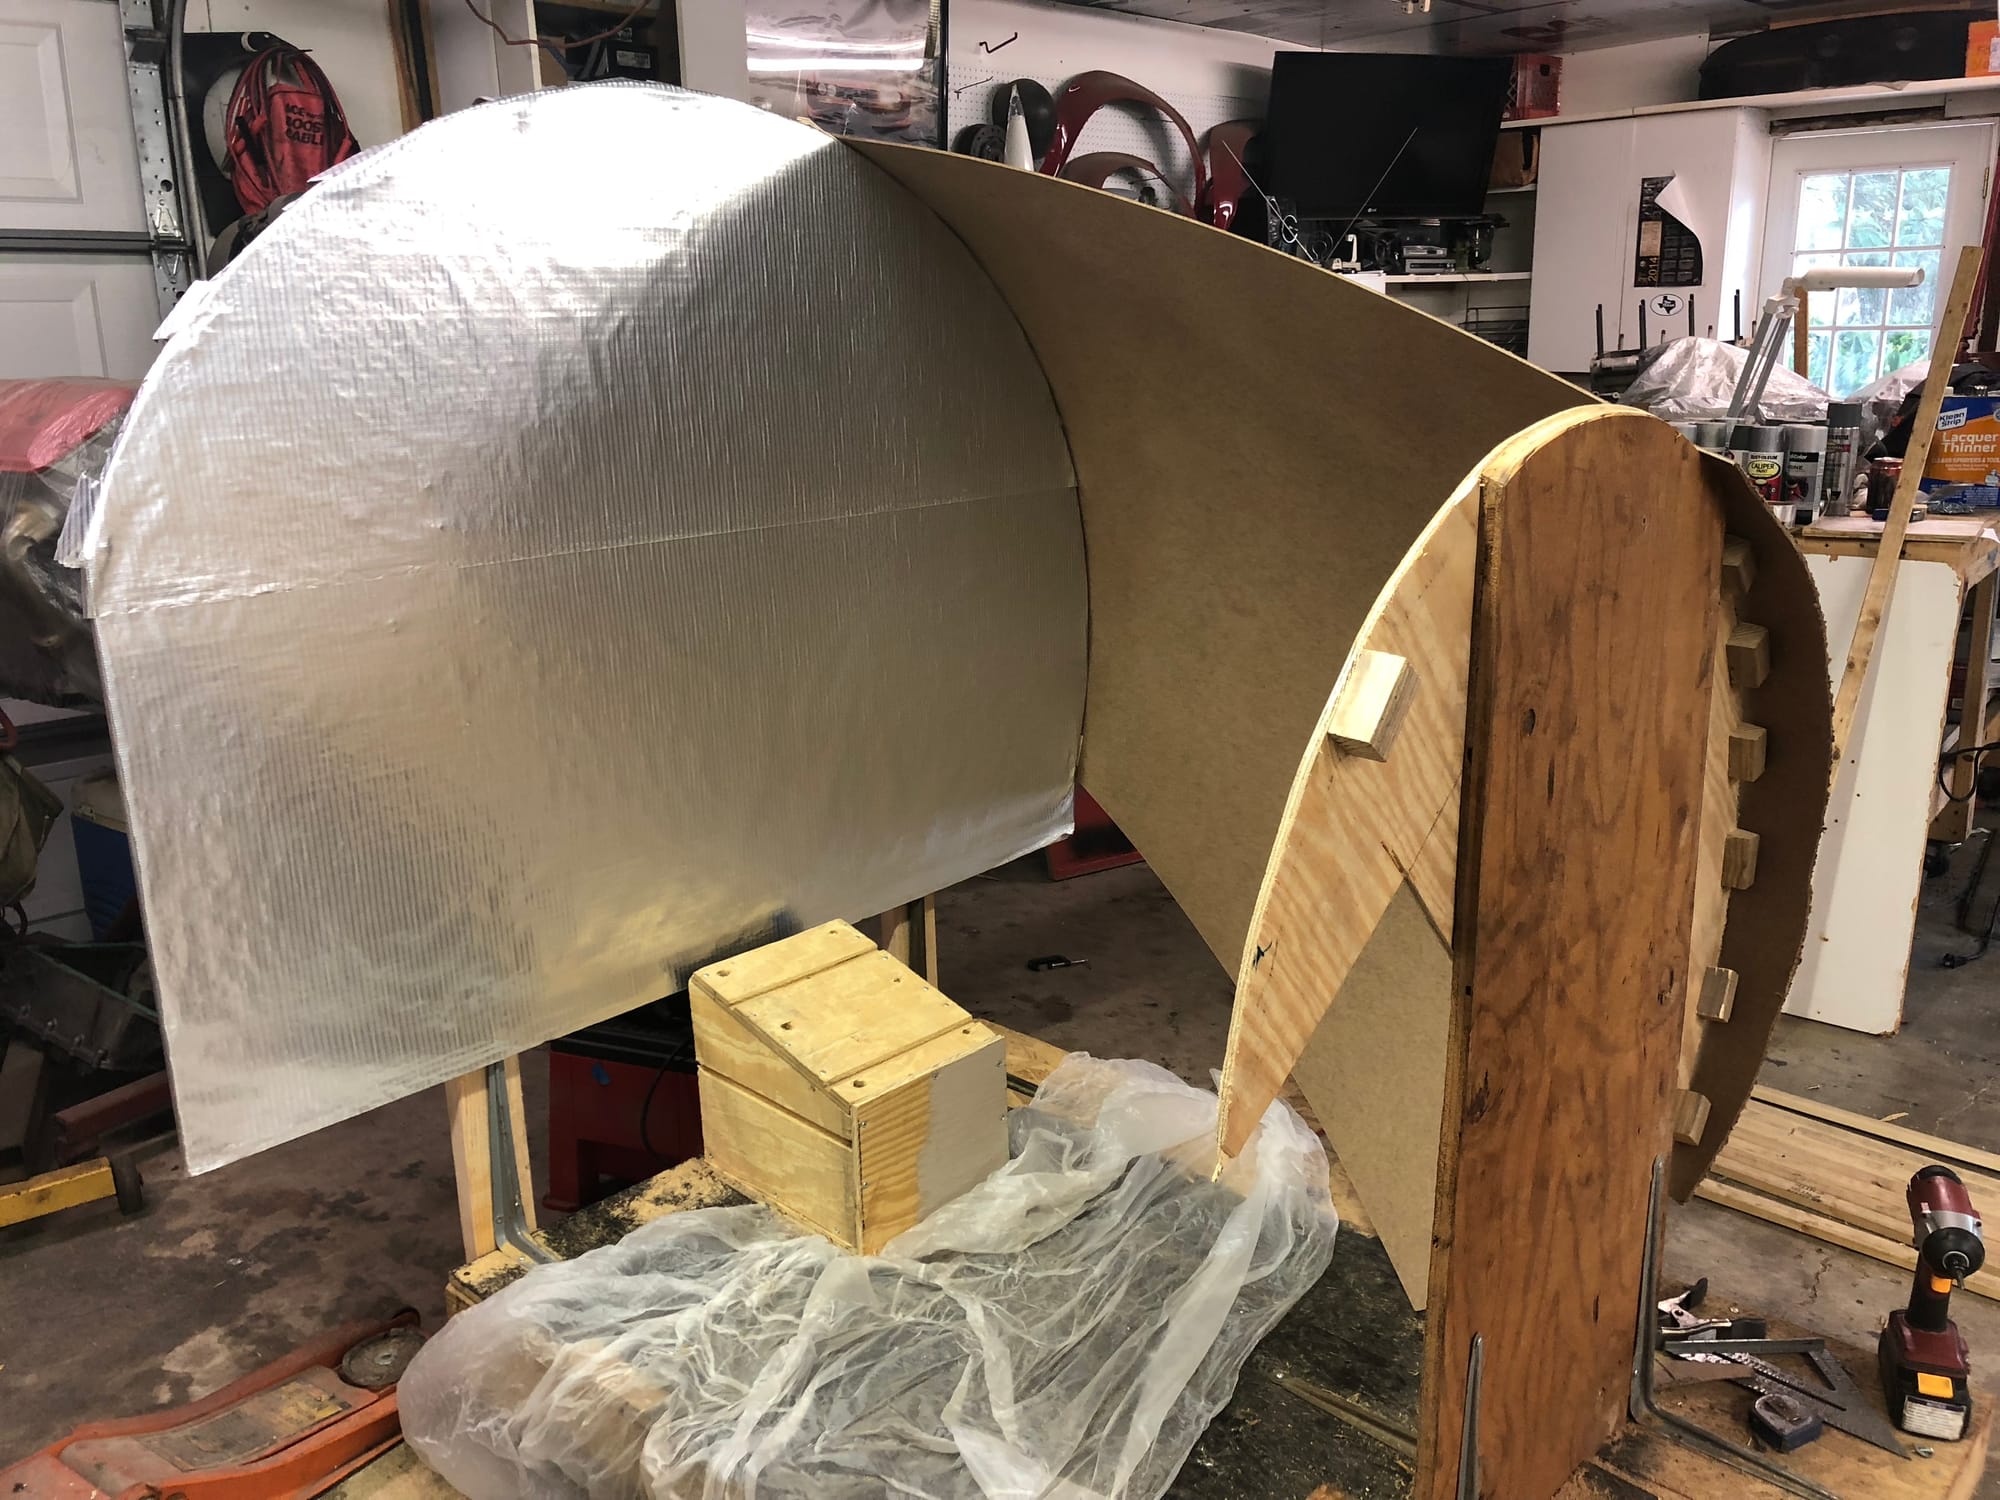
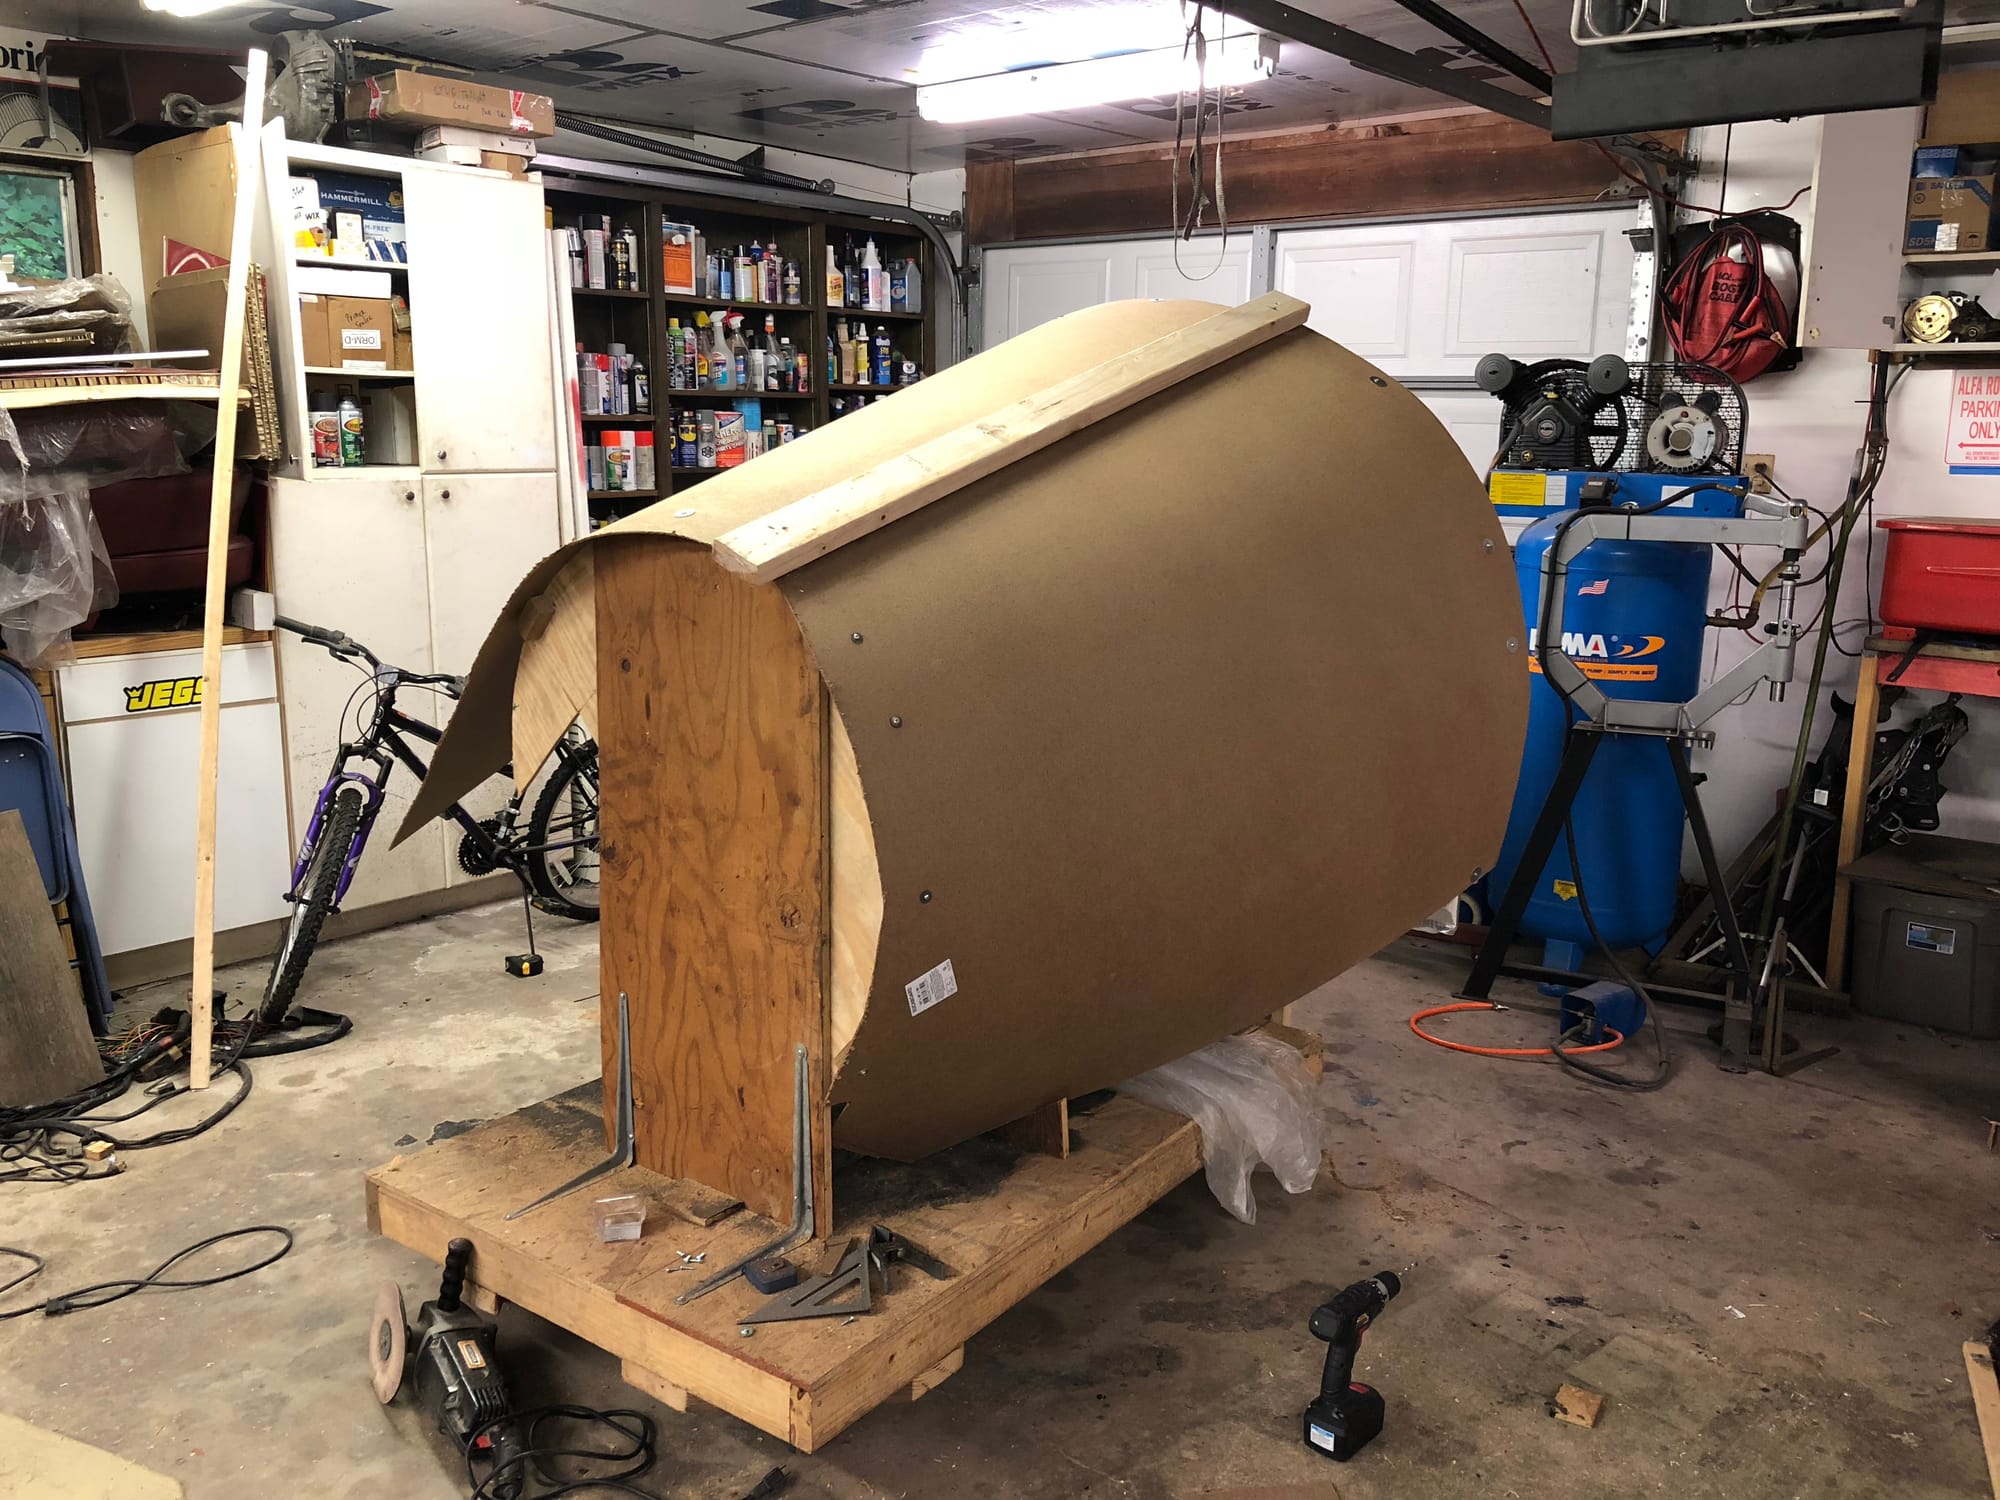
Set Construction
The laser-cut panels were mounted into this frame, and the 3D-printed brackets and components were installed to lock everything into place. With the physical set assembled, we wired up the Arduino system, connected the LEDs and gauges, and began testing. Each light and indicator had to respond correctly to the scripted mission sequences, so we spent time debugging the electronics, fine-tuning brightness levels, and confirming that the laptop simulation could drive the entire cockpit in real time. Only after everything checked out did the set feel ready for camera...
Watch our behind-the-scenes breakdown of Infinity 7